How to Transfer Data#
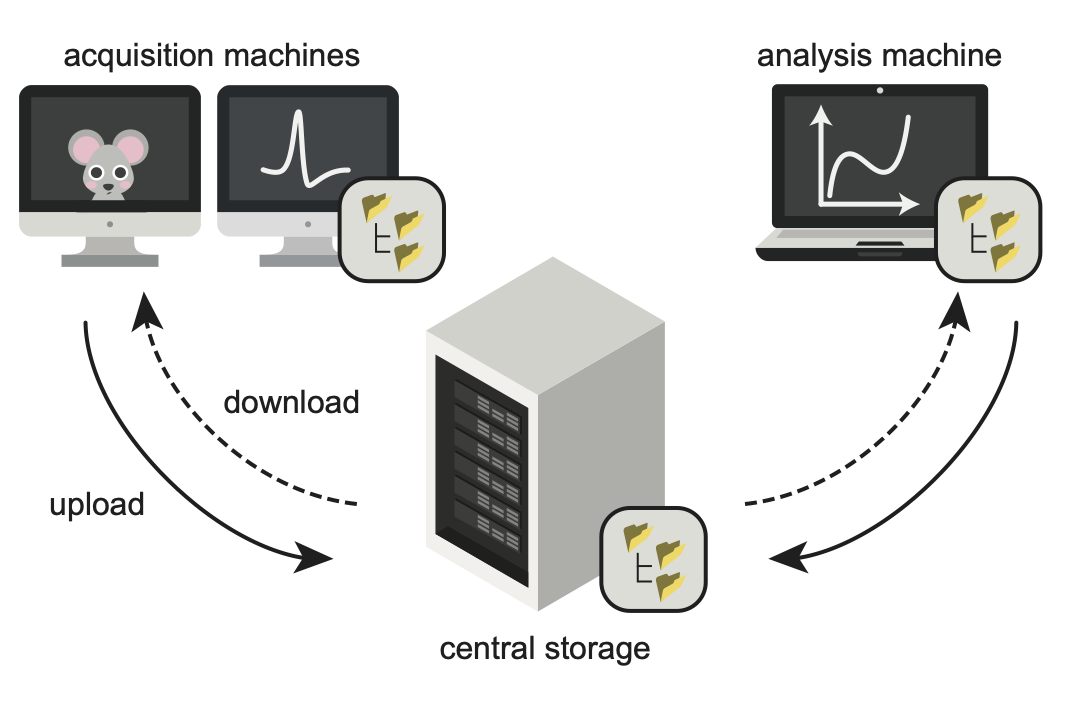
datashuttle facilitates convenient transfer of data between local and central storage machines.
This includes:
‘Uploading’ data from an acquisition machine to central data storage.
‘Downloading’ subsets of data from central storage to analysis machines.
Transfer Direction
In datashuttle, the upload refers to transfer from a local to the central machine. Download refers to transfer from the central machine to a local machine.
There are three main methods to transfer data. These allow transfer across:
the entire project (all files in both
rawdataandderivatives)only the
rawdataorderivativestop level folder.a custom subset of subjects / sessions / datatypes.
Warning
The overwrite existing files setting is very important. It takes on the options never, always or if source newer.
See the transfer options section for full details on this and other transfer settings.
Transfer the entire project#
The first option is to transfer the entire project—all
files in the rawdata and derivatives
top-level-folders.
This includes all files inside or outside a subject, session or datatype folder.
This mode is useful for data acquisition when overwrite existing files is set to never. Any new files (i.e. newly acquired data) will be transferred to central storage while existing files will be ignored.
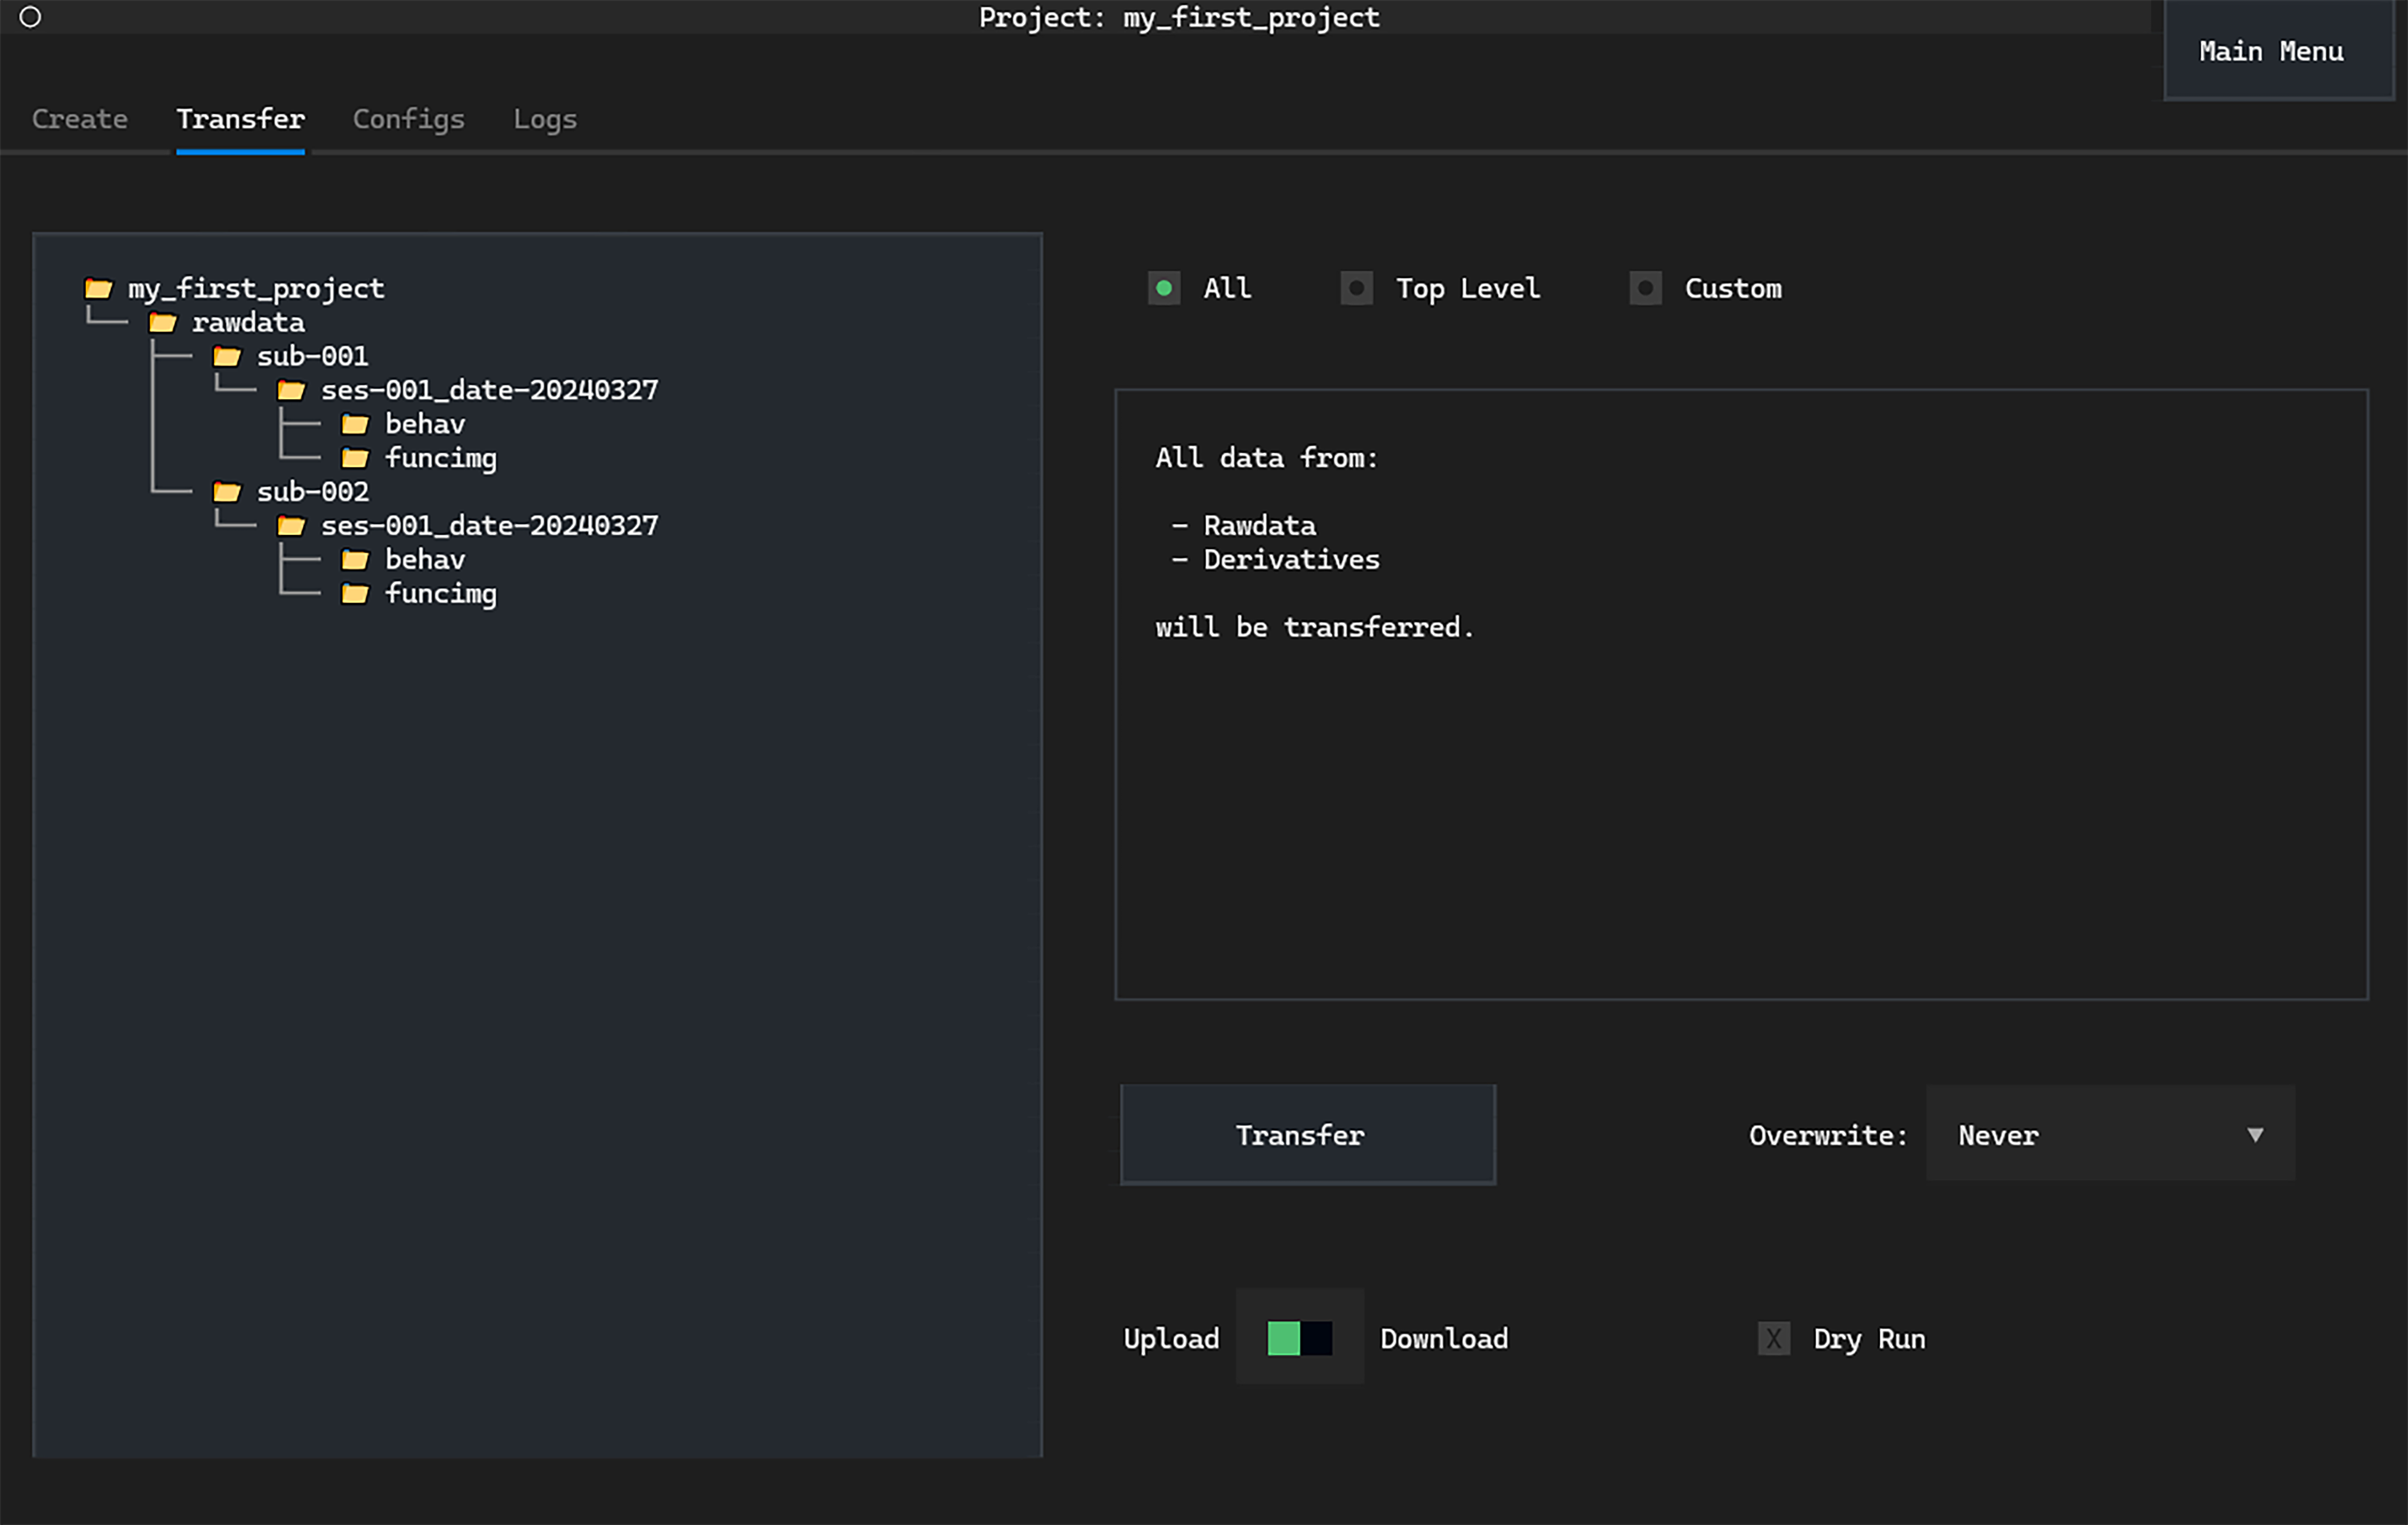
To transfer the entire project navitgate to the Transfer tab. The
All button is selected to transfer the entire project.
Click Transfer to begin.
The method to upload the entire project is:
project.upload_entire_project()
while the method to download the entire project is:
project.download_entire_project()
Transfer only rawdata or derivatives#
This acts almost identically to
transferring the entire project
but will only transfer files within a
single top-level folder (rawdata or derivatives).
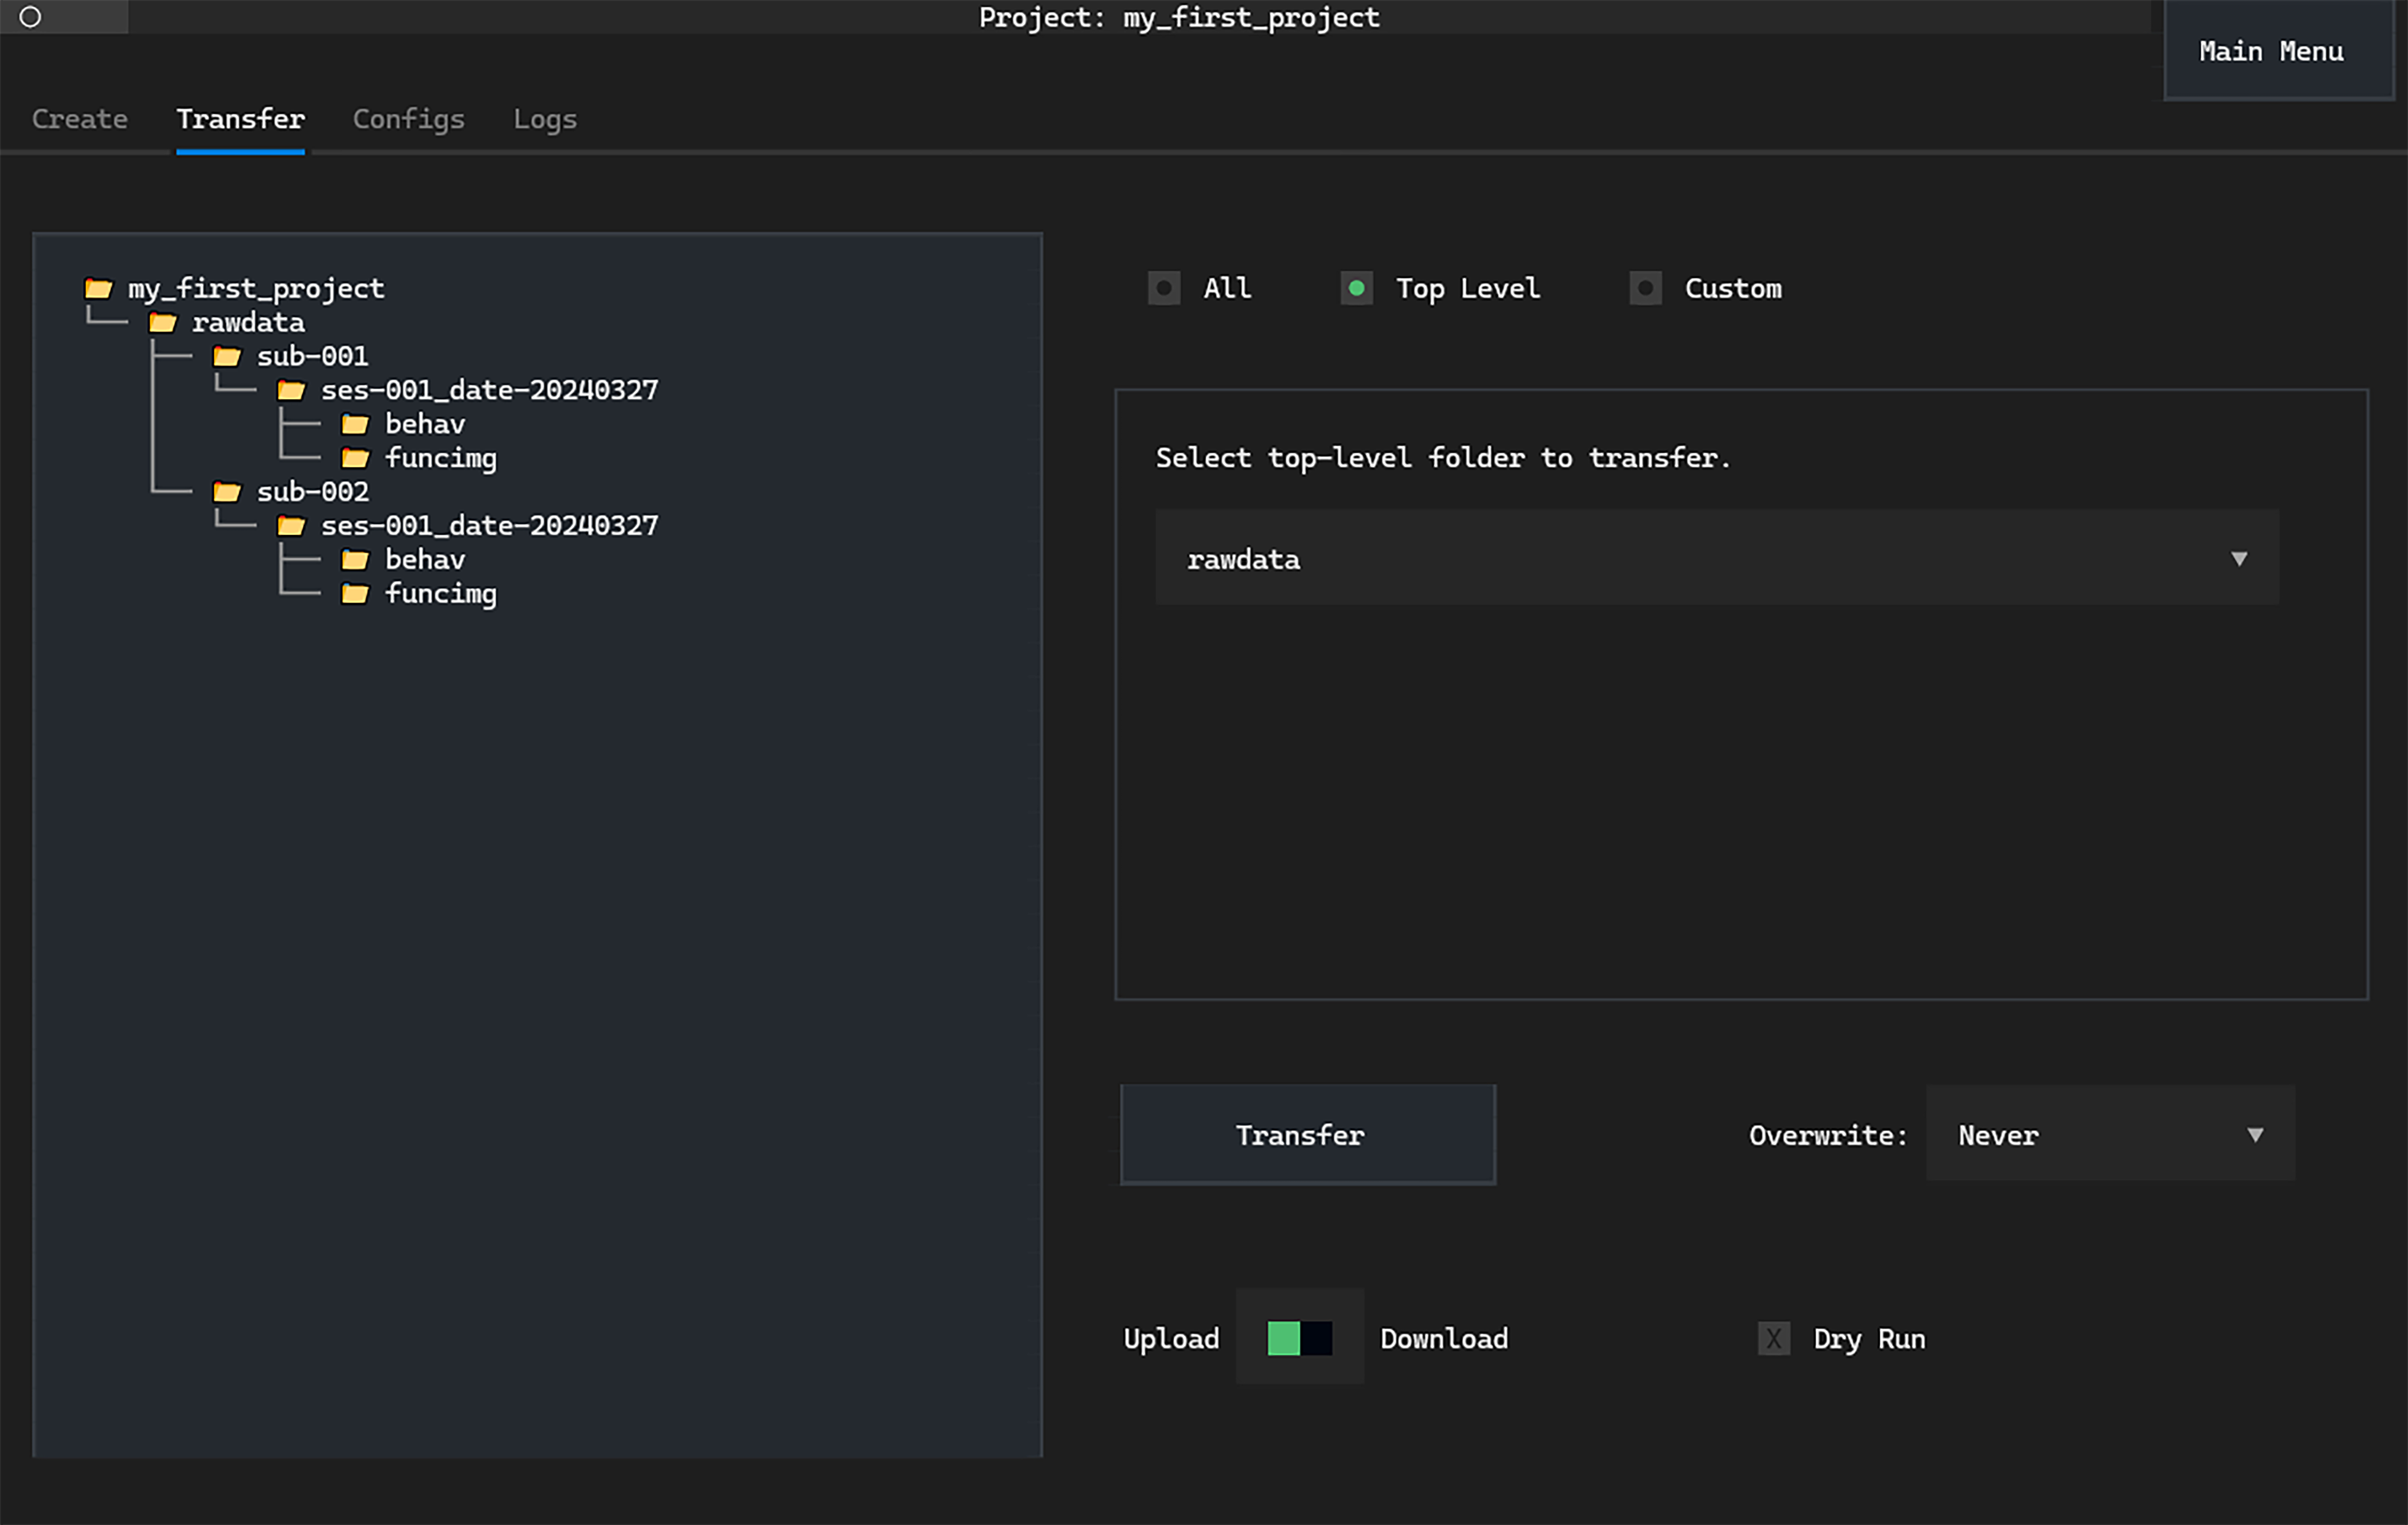
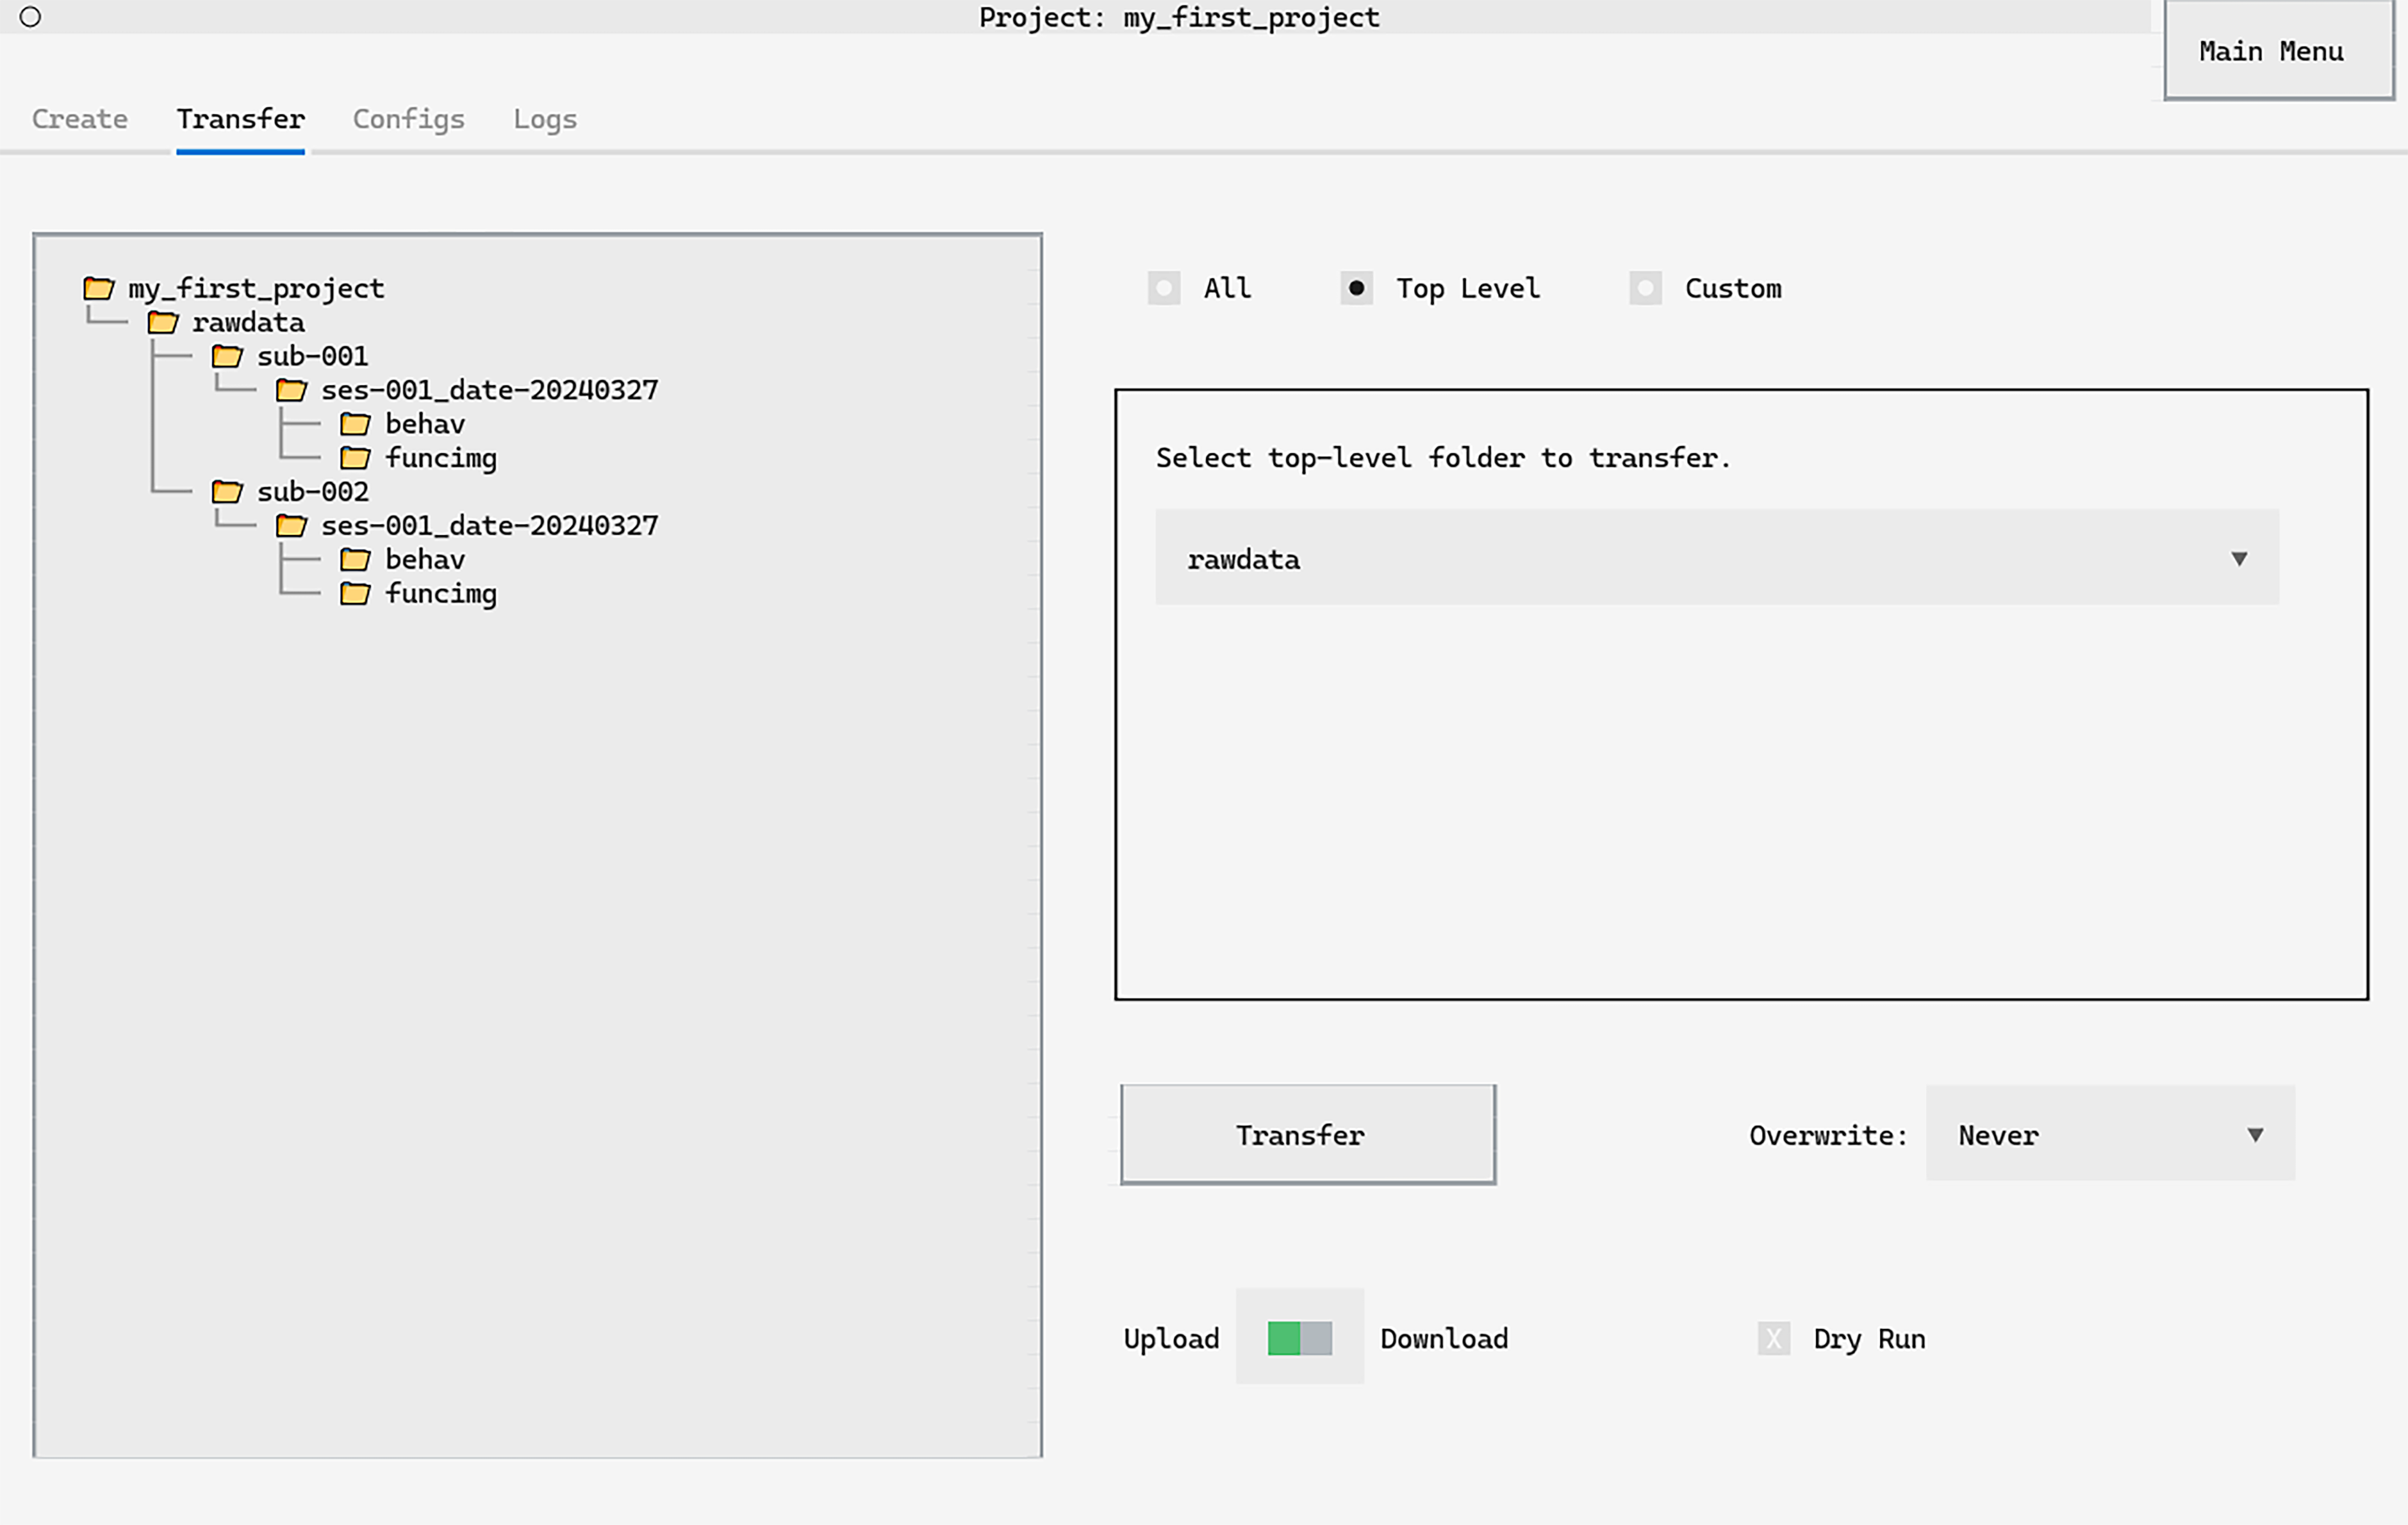
Selecting the Top Level button on the Transfer tab will
allow selection of rawdata or derivatives to transfer.
Click Transfer to begin.
The upload_rawdata(), upload_derivatives() and download_rawdata(), download_derivatives()
methods target transfer to a particular top-level folder.
The below example will upload rawdata then download derivatives.
project.upload_rawdata()

project.download_derivatives()
Custom transfers#
Custom transfers permit full customisation of data transfer.
Custom transfers can transfer select subsets of data. For example, you may only want download behavioural data from test sessions for a particular data analysis.
Select Custom on the Transfer tab to open the custom transfer settings.
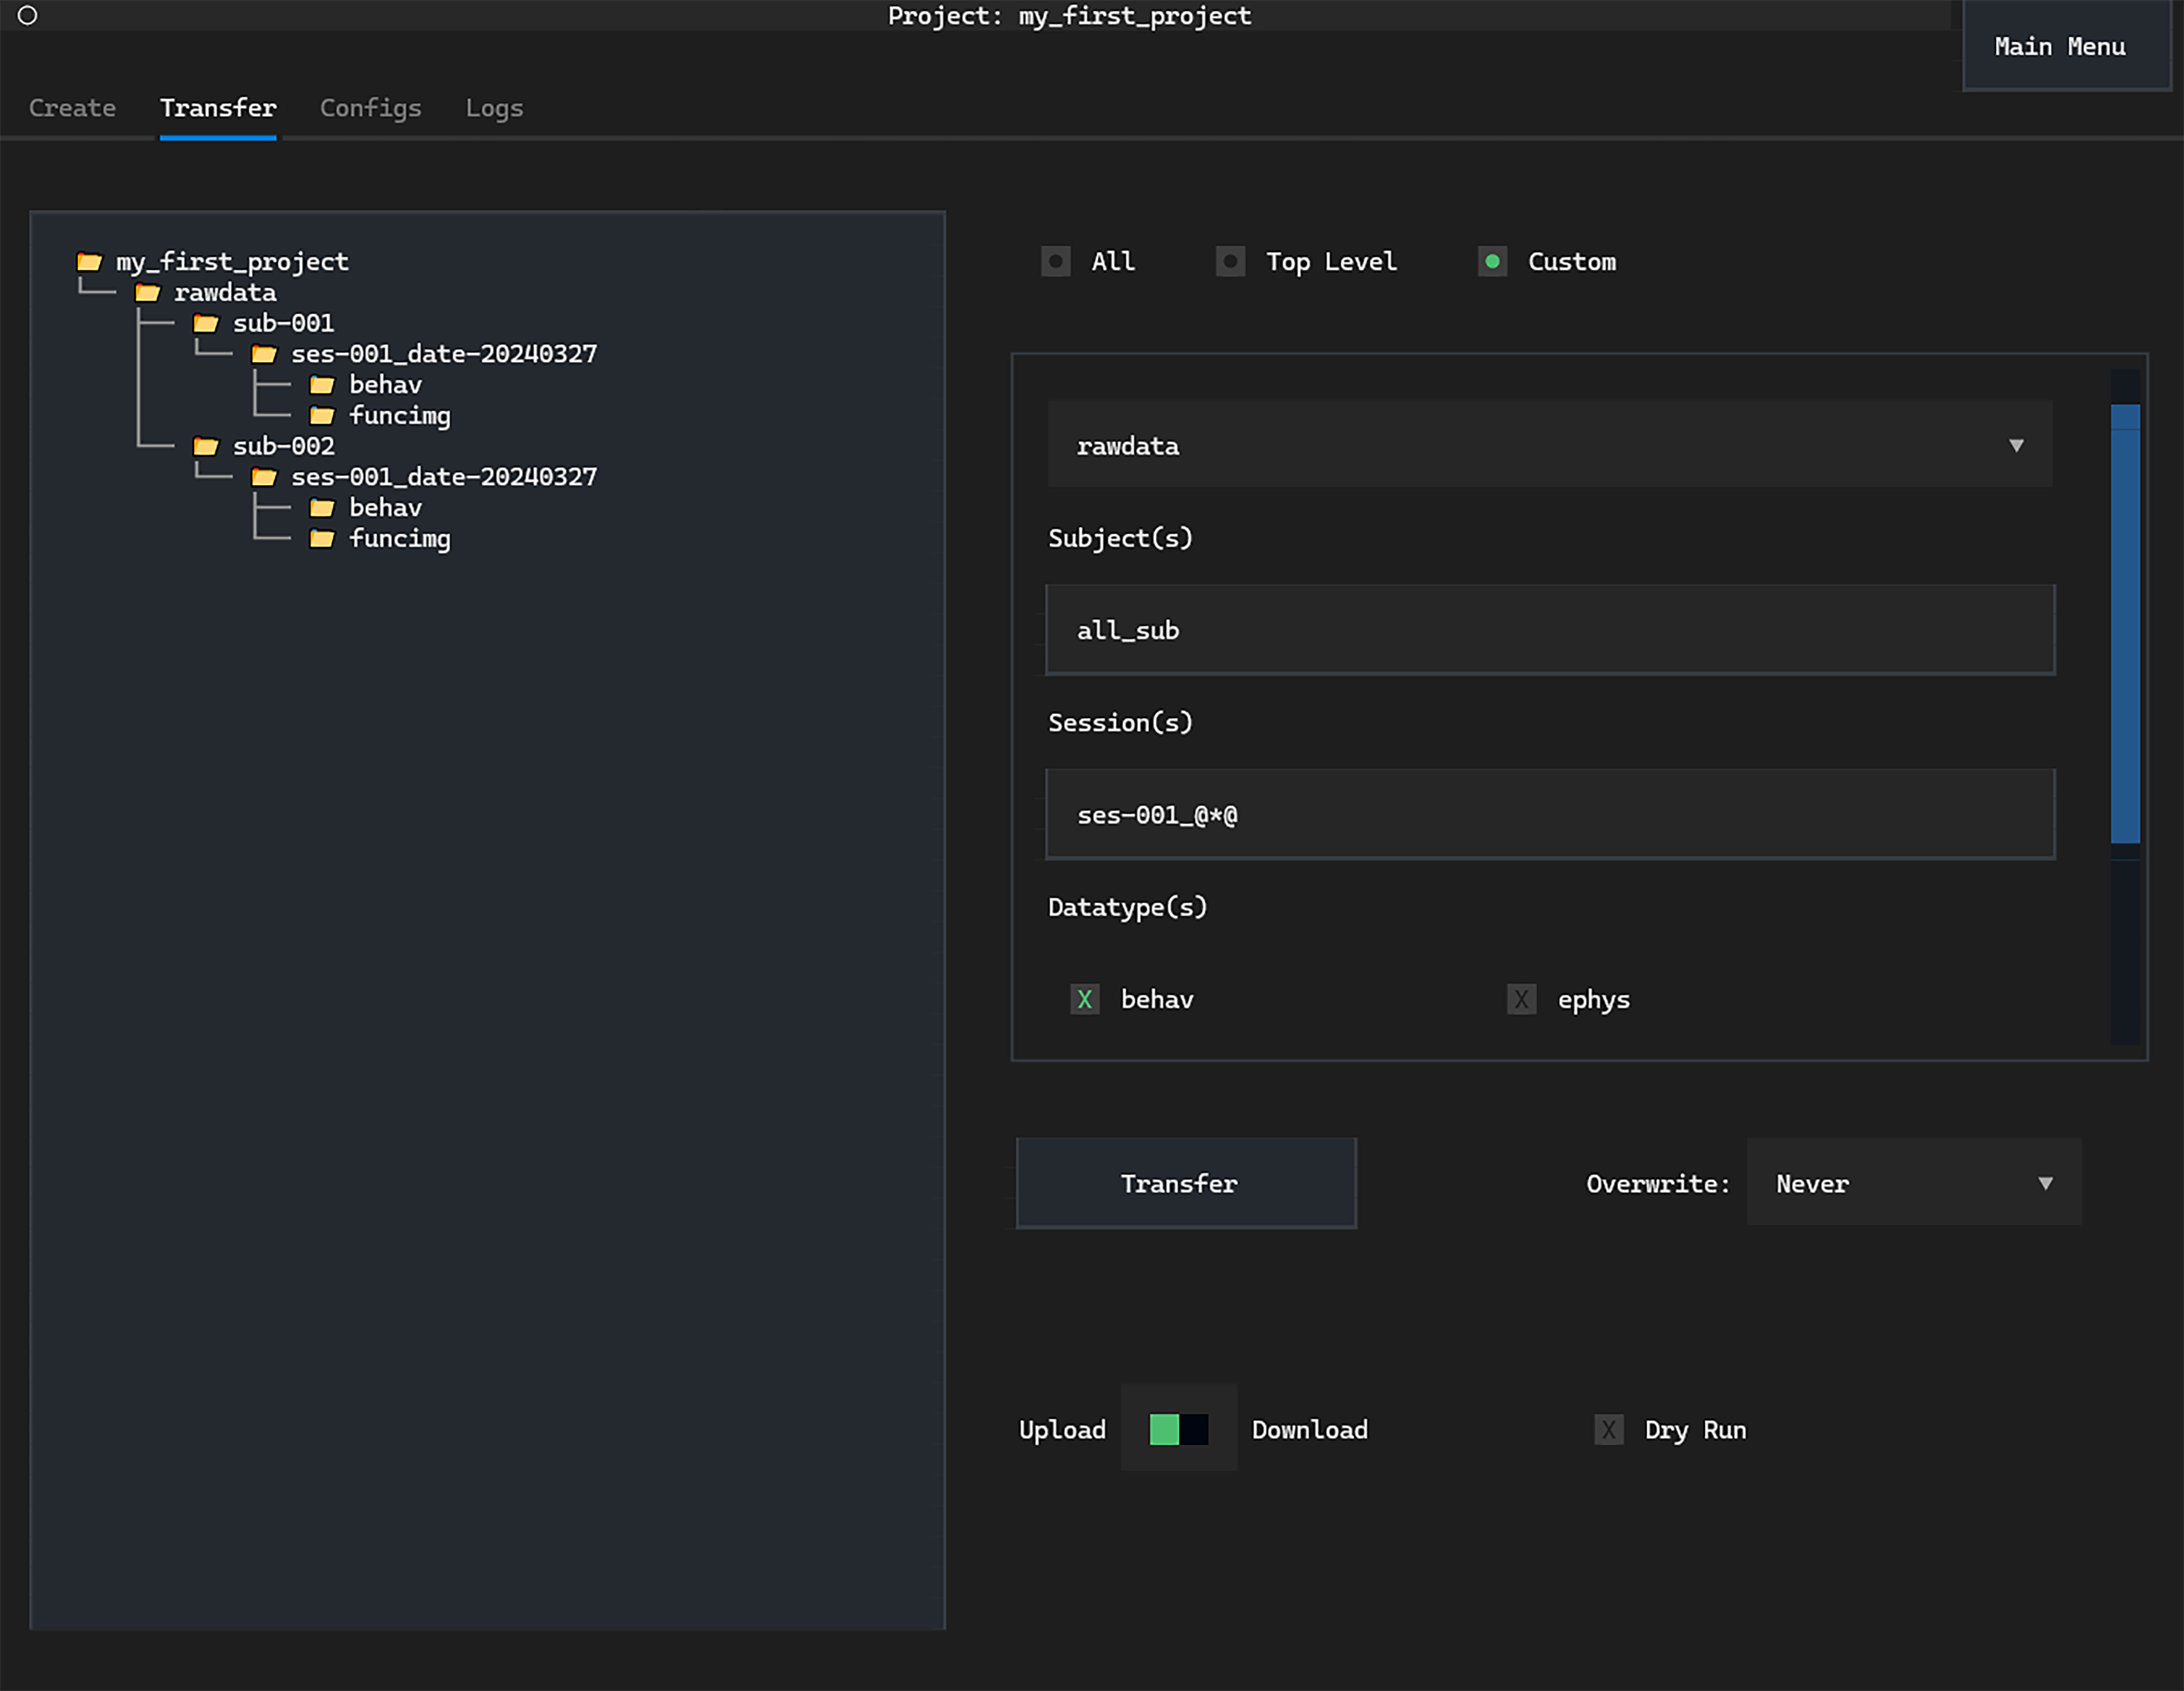
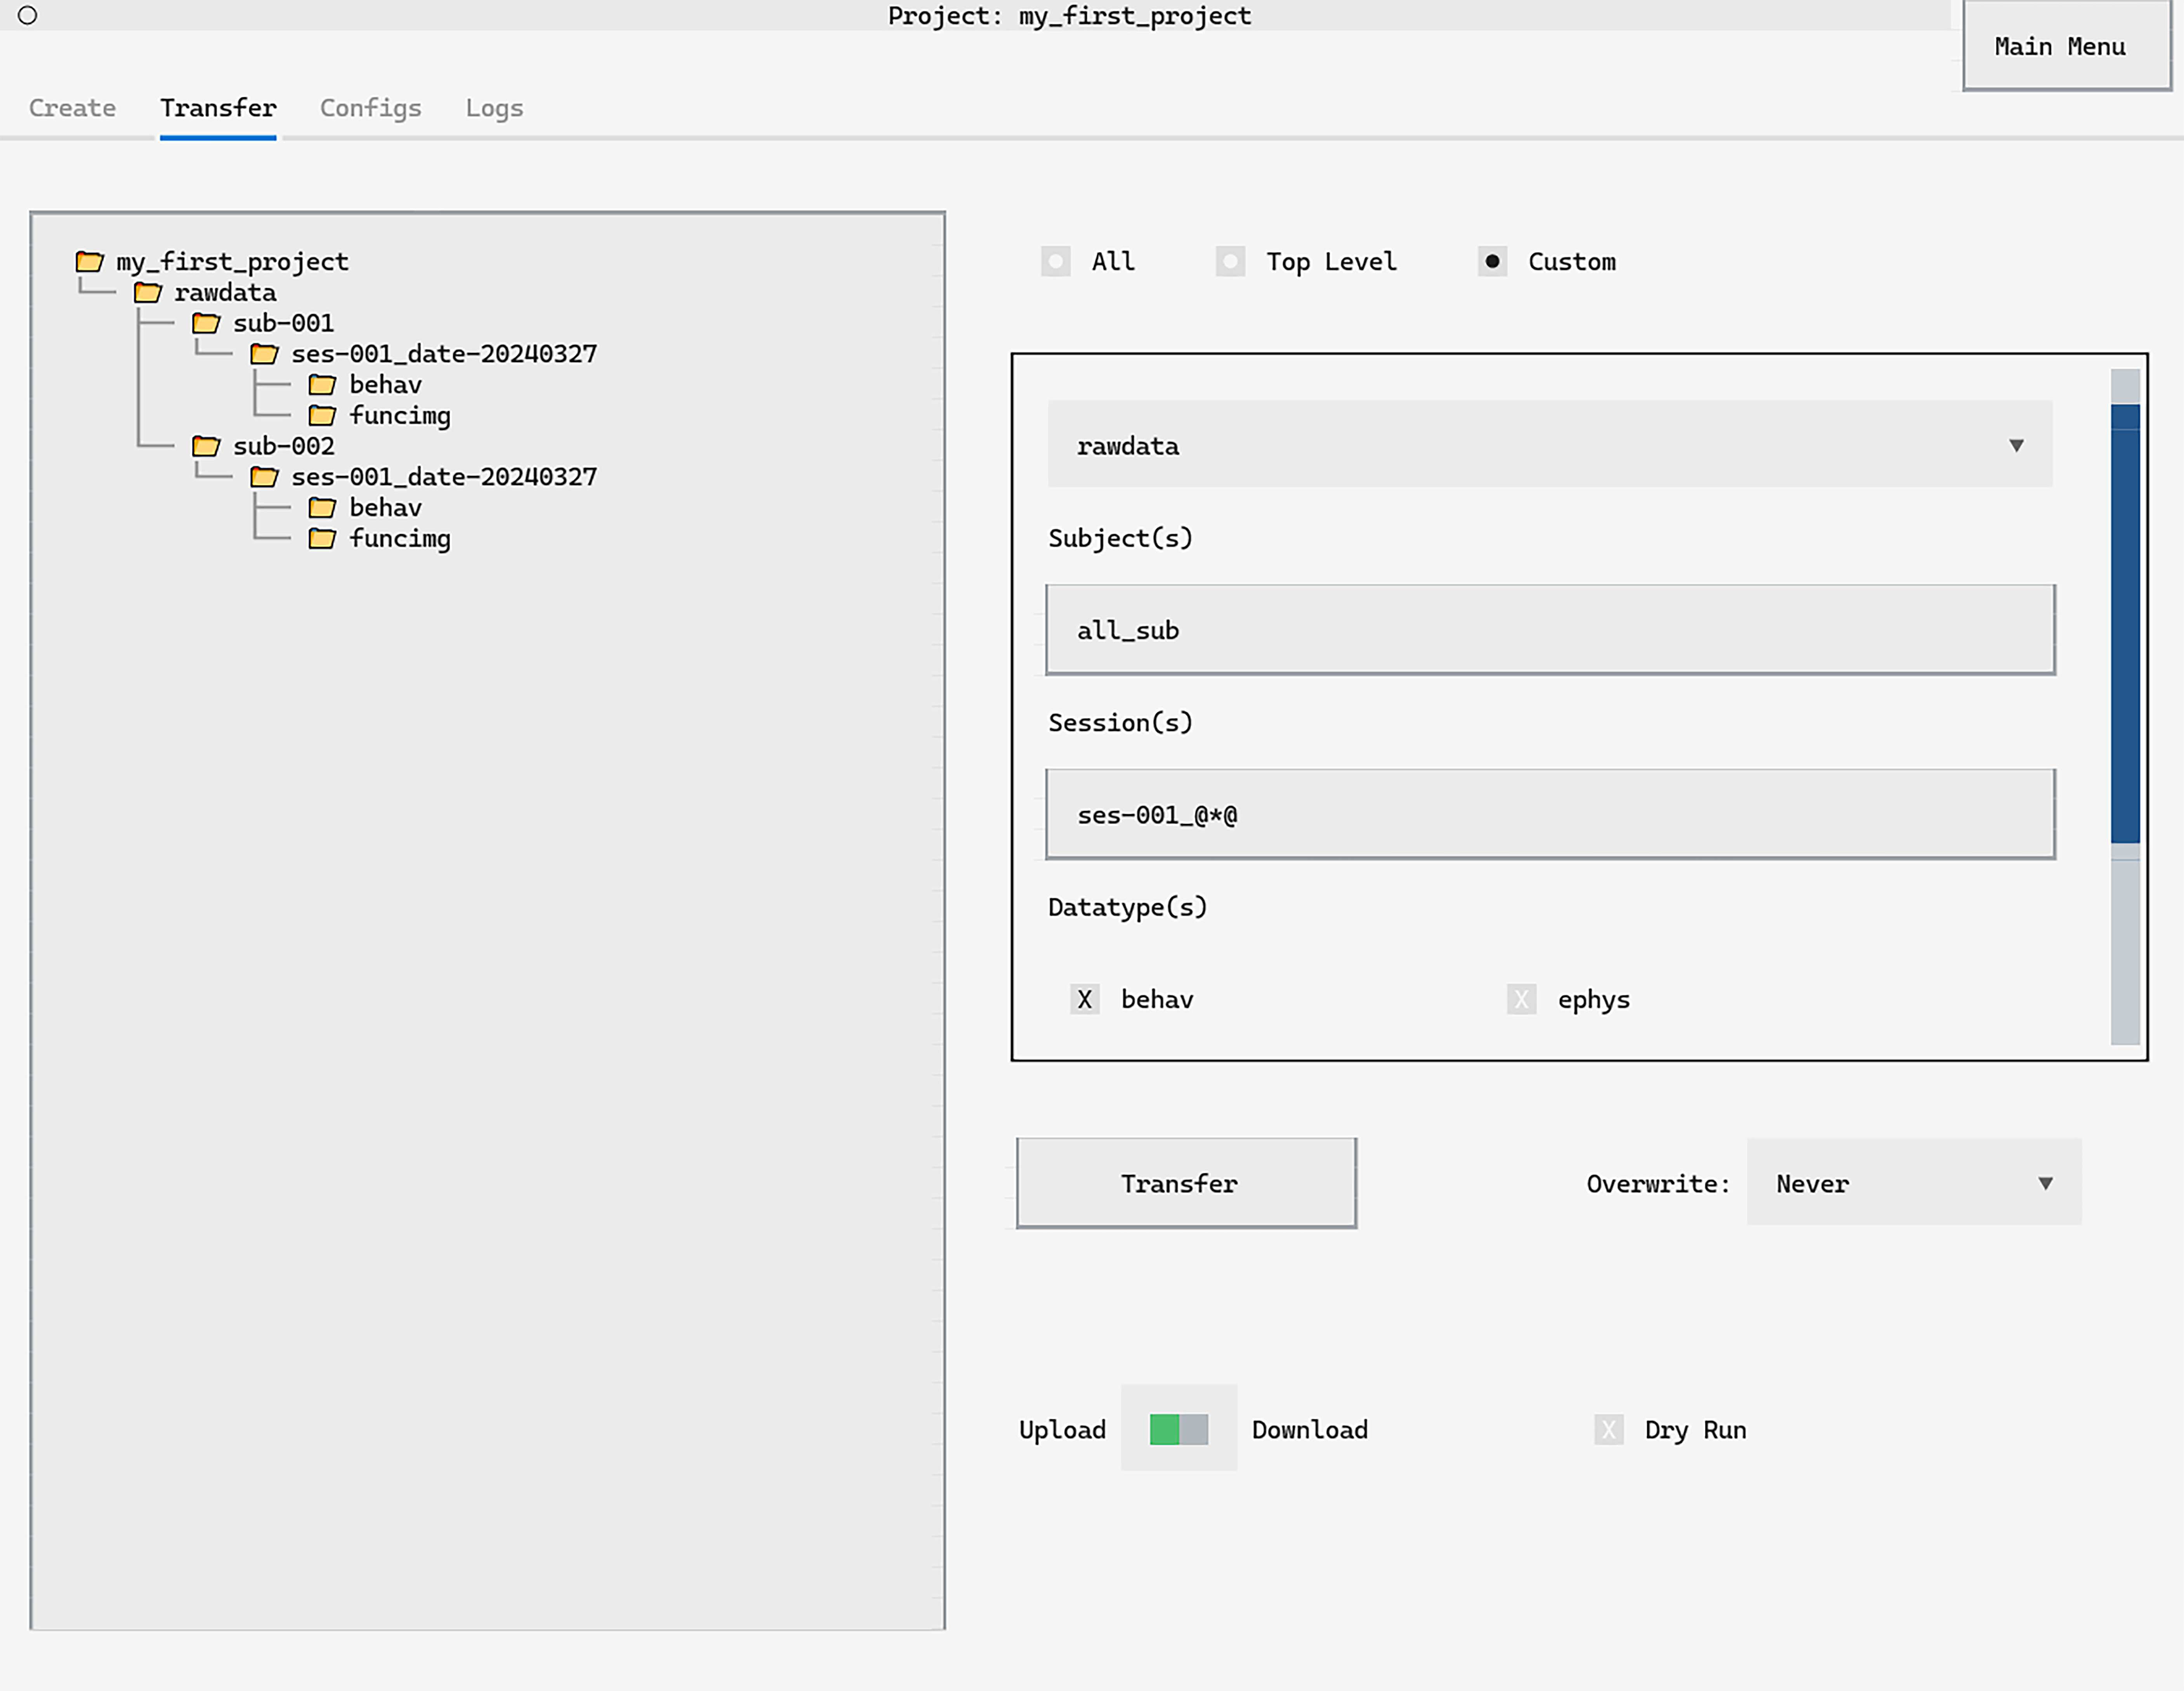
The top-level folder can be set by the first dropdown menu.
Next, subject and session keywords can be added to customise files to transfer. In this example, the first behavioural session for all subjects will be transferred.
Subject and sessions can be added to the input boxes automatically
by hovering over sub- or ses- folders on the DirectoryTree.
Pressing CTRL+F will ‘fill’ the input with the foldername,
while CTRL+A will ‘append’ the foldername, creating a list of
subjects or sessions to transfer.
Finally, click Transfer to begin.
The upload_custom() and download_custom() methods can be used for custom
data transfers. For example, to perform a custom upload:
project.upload_custom(
    top_level_folder="rawdata",
    sub_names="all_sub",
    ses_names="ses-001_@*@",
    datatype="behav",
)
In this example, the first behavioural session for all subjects will be transferred.
Custom transfer keywords#
Custom transfer keywords determine how files and folders outside of subject, session and datatype folders are handled.
Ideally, all data will be stored in datatype folders—however this is not always feasible.
In such cases custom transfer keywords allows flexible handling of
the transfer of non sub-, ses- prefixed or datatype folders at the
subject, session and datatype level.
Note that the dry run argument can be used to perform a dry-run transfer to check transfers proceed as expected.
- Subject level
For files and folders within top-level folders:
all- All files and non-subject folders will be transferred. All subject (i.e. prefixed withsub-) folders will be considered for transfer.all_sub- All subject folders will be considered for transfer.all_non_sub- All files and non-subject folders will be transferred. Subject folders will not be transferred.
- Session Level
For sessions within subjects considered for transfer:
all: All files and non-session folders will be transferred. All session (i.e. prefixed withses-) folders will be considered for transfer.all_ses: All session folders will be considered for transfer.all_non_ses: All files and non-session folders will be transferred. Session folders will not be transferred.
- Datatype Level:
For datatype folders (e.g.
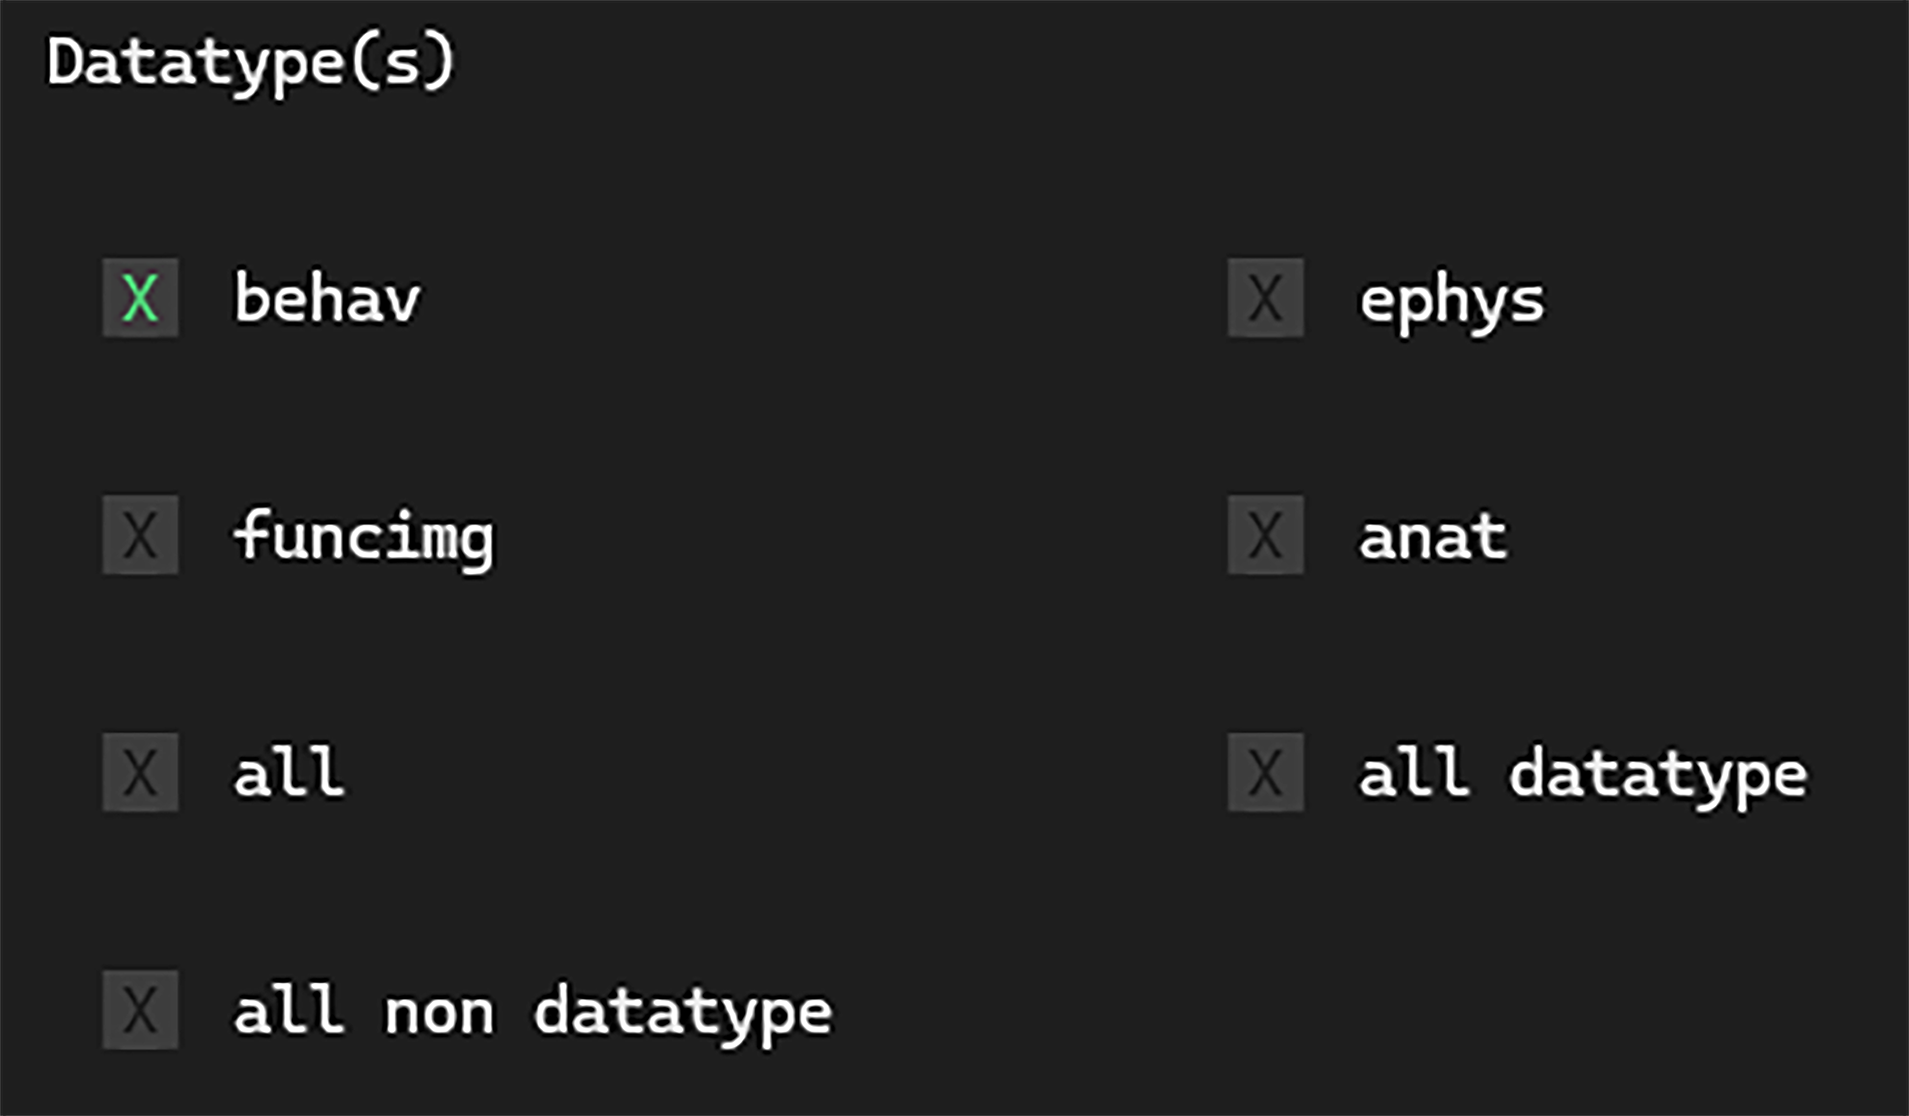
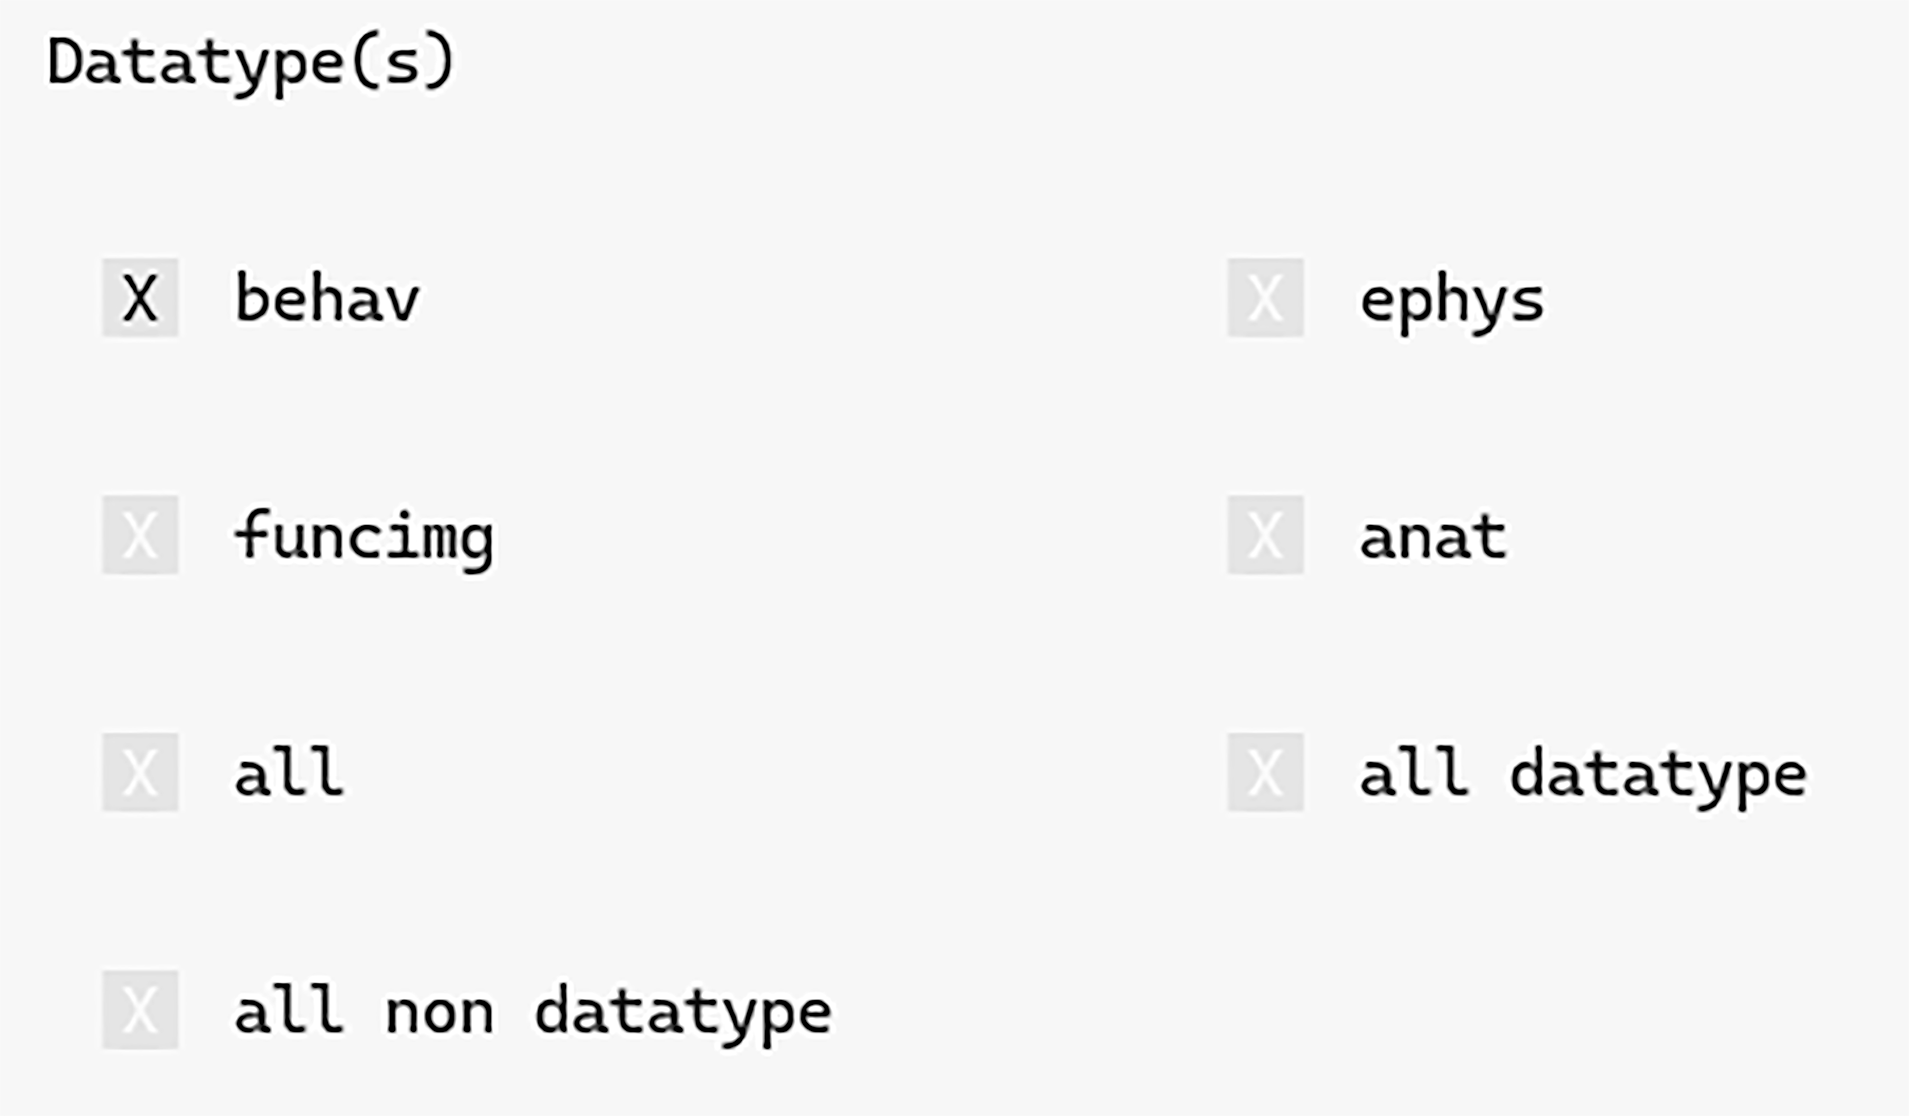
behav,ephys,funcimg,anat) within sessions considered for transfer:all: All files, datatype folders and non-datatype folders will be transferred.all_datatype: All datatype folders will be transferred. Files and non-datatype folders will not be transferred.all_non_datatype: Files and non-datatype folders will be transferred. Datatype folders will not be transferred.
Transfer Options#
- overwrite existing files
By default this option is set to never—a transfer will never overwrite a file that already exists, even if the source and destination modification datetimes or sizes are different.
If always*, when there are differences in datetime or size between the source and destination file the destination file will be overwritten. This includes when the source file is older or smaller than the destination.
Finally, if source newer ensures data is only overwritten when the source file has a more recent modification time than the destination. If modification datetimes are equal, the destination will be overwritten if the sizes or checksums are different.
Under the hood, transfers are made with calls to Rclone. Using never calls Rclone’s copy function with the flag
--ignore_existing. Using always copies without this flag and (using Rclone’s default overwrite behaviour.) Using if source newer calls copy with the--updateflag.
- dry run
Performs a dry-run transfer in which no data is transferred but logs are saved as if a transfer had taken place. This is a useful way to test if a transfer will run as expected.

