Set up a project#
The first section of this guide will set up a “local-only” project that can create and validate project folders. This requires only minimal configuration to get started.
To see how a datashuttle project can be set up for transfer, visit the Set up a project for transfer section.
Selecting Make New Project will take you to the project set up screen.
Enter the name of your project, the path to your project folder and
select No connection (local only) (note that the Central Path option
will be disabled).
You will now be able to go to the project manager screen:


First, import datashuttle and set up a project with the project_name.
If a project already exists, this should match the project folder name (i.e. the level above rawdata).
from datashuttle import DataShuttle

project = DataShuttle("my_project_name")
Next, give datashuttle the path to the project folder (this can,
but doesn’t have to, include the project_name)
project.make_config_file(
    local_path=r"C:\MyUsername\my_data\my_project_name"
)
The project is now ready for use, and in future can be instantiated with the line:
project = DataShuttle("my_project_name")
(i.e. you will not have to set the local_path again).
If you wish to change the project settings at a later time, use update_config_file().
Now, this project is ready for creating and validating folders to the NeuroBlueprint standard. See create folders and validate folders for details.
If you would also like to transfer files to a central storage, see the next section.
Set up a project for transfer#
Above, we have set up a datashuttle project by providing the project name
and local path. To set up a project for transfer, we need to provide
additional information:
central path: location of the project on the central storage.
Connection-specific settings (e.g. if using a mounted drive, SSH, Google Drive or Amazon Web Services (AWS)).
How the central path is set depends on whether your connection to central storage is connected to through a mounted drive, via SSH or is an AWS S3 Bucket or Google Drive.
If you are unsure of your connection method, speak to your lab administrator or IT department.
Connecting to central storage through a mounted drive#
In this case, the central storage machine is mounted as a drive on the local machine.
We simply need to set the central path as the path to the central project as it appears on the local machine’s filesystem.
Local Filesystem Example
Imagine your central storage is a remote server that is mounted to
your machine at X:\username. You want your project folder to
be located at X:\username\my_projects.
In this case, you can set the central path to X:\username\my_projects
and with connection method to local filesystem.
The project folder will be located
at X:\username\my_projects\my_project_name.
You may pass the central path without the project name,
(it will be automatically included).
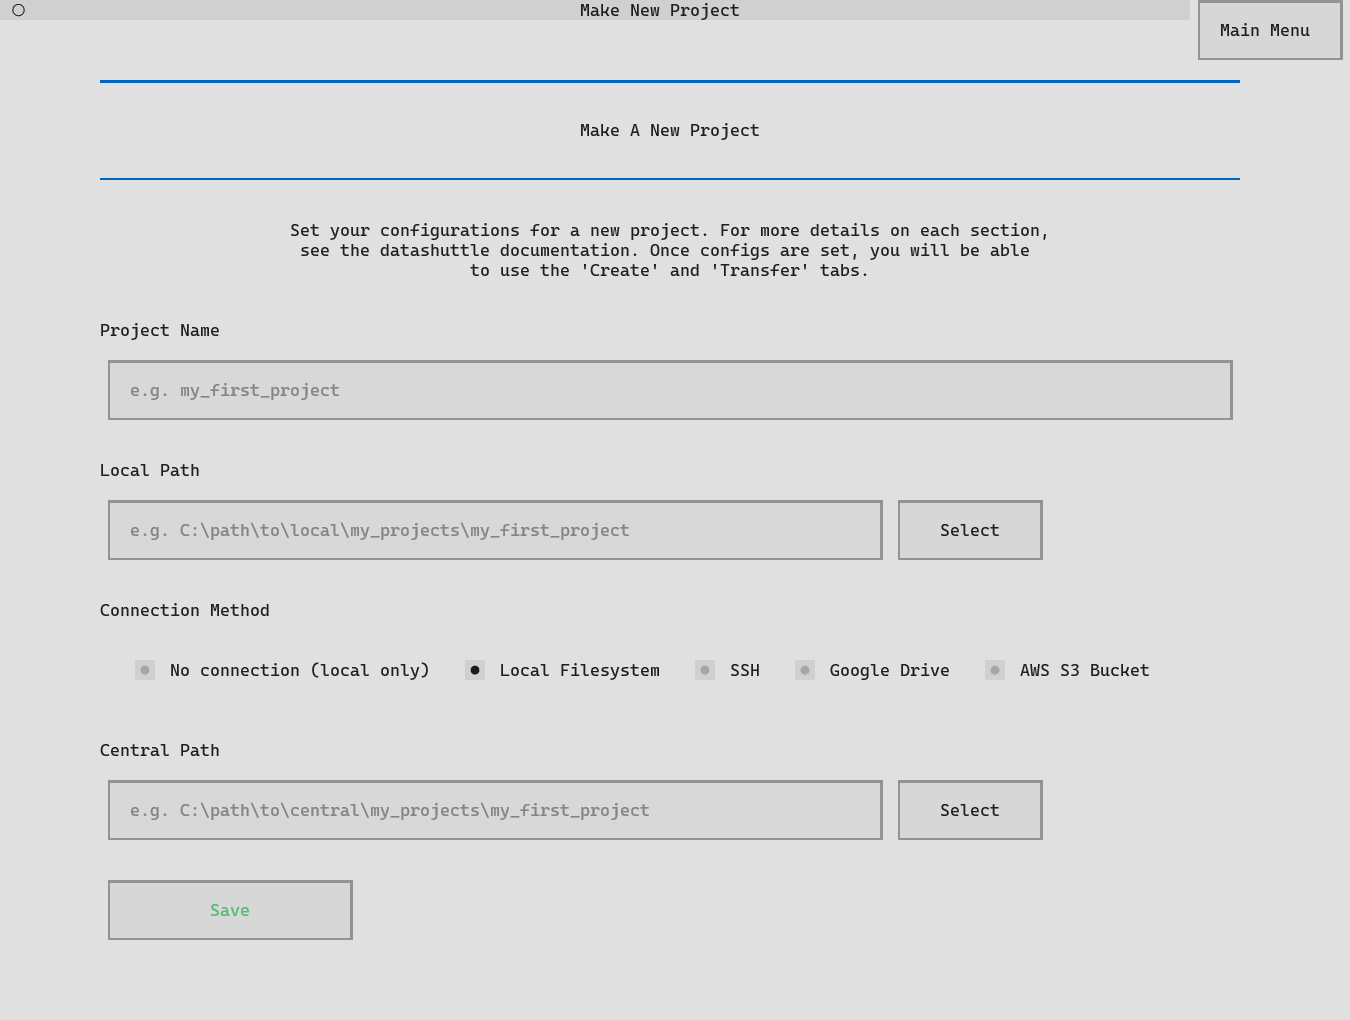
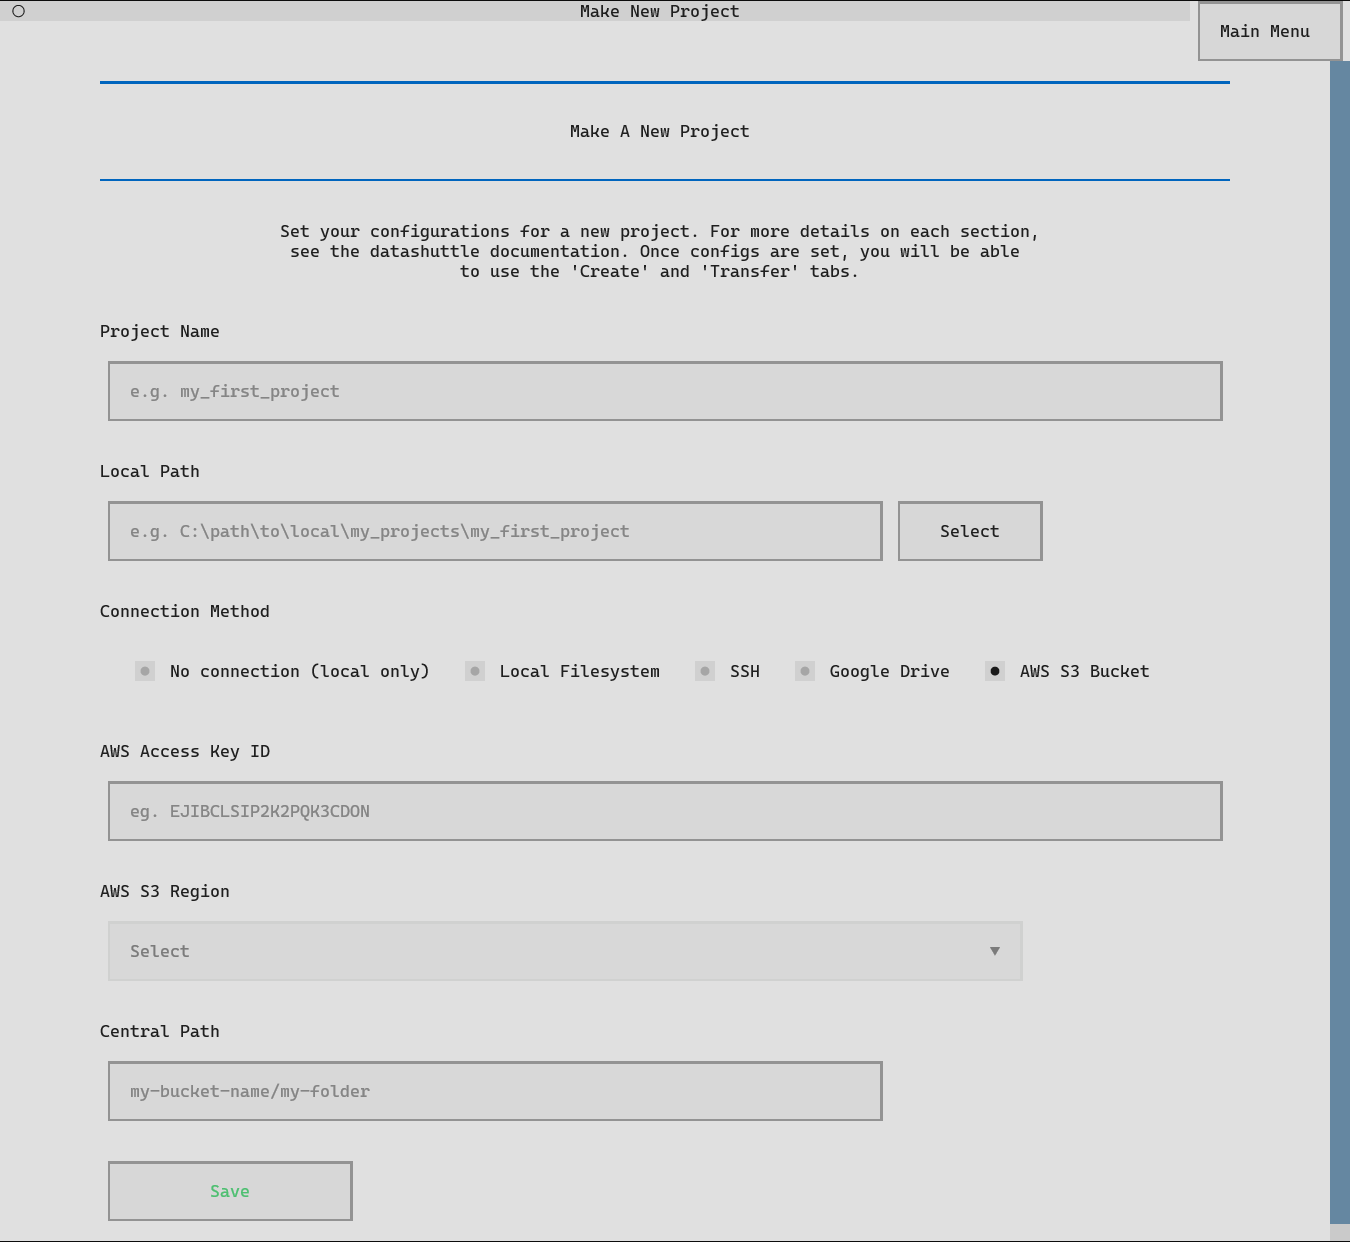
First, click the Make New Project button from the launch page.
The Make New Project screen will be displayed:
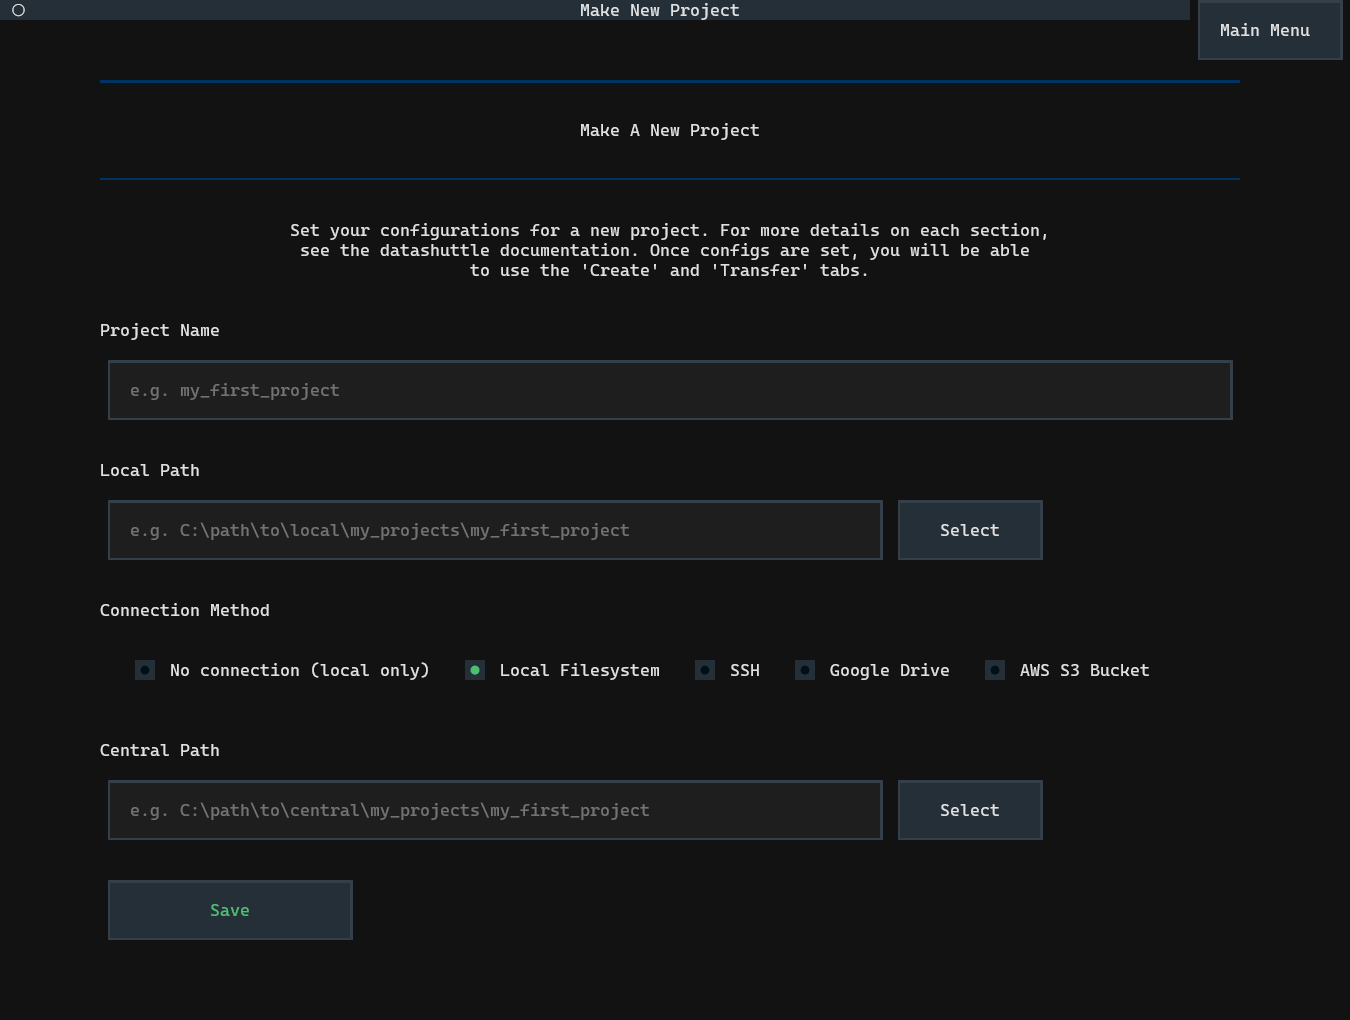
Setting up datashuttle is as simple as entering the Project name,
Local Path and Central Path into the relevant input boxes.
The paths do not need to end in the project name—it will be automatically added.
You can paste a path into the input boxes with CTRL+V or use Select
to navigate to paths on your local filesystem.
The Connection Method can be changed to Local Filesystem.
Once all information is input, click Save to set up the project.
You can then navigate to the Project Manager screen by clicking the
Go To Project Screen button that appears.
We will first import the DataShuttle class and initialise
it with the project_name:
from datashuttle import DataShuttle

project = DataShuttle("my_first_project")
Next, the make_config_file() method can be used to set up a new
project with the desired local path, central path and
connection method.
project.make_config_file(
    local_path=r"C:\my_local_machine\username\my_projects\my_first_project",
    central_path=r"X:\a_mounted_drive\username\my_projects\my_first_project",
    connection_method="local_filesystem",
)
Connecting to central storage through SSH#
A common method of connecting to a central server is by using SSH.
The following details must be set in the project configs prior to setting up the connection:
central host id: This is the address of the server you want to connect to.
central host username: This is your profile username on the server you want to connect to.
central path: This is the path to the project on the server.
Once the configs are saved, we can set up the connection by clicking Set Up SSH Connection
(through the TUI) or running the function setup_ssh_connection() in Python.
SSH Example
Let’s say the central project was stored on a remote server with
address ssh.swc.ucl.ac.uk, and your account username on the server
is myusername.
We want to store the project at the location (on the server)
/ceph/my_lab/my_name/my_projects/project_name/.
Then the settings would be:
central host id: ssh.swc.ucl.ac.uk
central host username: myusername
central path: /ceph/my_lab/my_name/my_projects/project_name/
You may pass the local path and central path without the project name, it will be automatically included.
Note that Linux-based shortcuts (e.g. ~ for home directory) are not permitted.


When setting up a new project, the project name and local path can be input exactly the same as when setting without SSH.
Select the Connection Method as SSH.
Next, input the Central Host ID, Central Host Username and
Central Path as described above.
Clicking Save will save these project configs. A button
Set up SSH Connection will appear. Click to
confirm the server ID and enter your password
(you will only need to do this once).
The connection_method configuration must be set to "ssh"
to use the SSH protocol for data transfers.
Enter the central_path, central_host_id and
central_host_username as described above.
project.make_config_file(
	local_path=r"C:\path\to\local\my_projects\my_first_project",
	central_path="/nfs/path_on_server/myprojects/central",
	connection_method="ssh",
	central_host_id="ssh.swc.ucl.ac.uk",
	central_host_username="username",
)
Next, a one-time command to set up the SSH connection must be run:
project.setup_ssh_connection()
Running setup_ssh_connection() will require verification
that the SSH server connected to is correct (pressing y to proceed).
Finally, your password to the central server will be requested (you will only need to do this once).
Connecting to central storage through Google Drive#
The following details control the transfer of data to Google Drive:
gdrive root folder id: This is the Google Drive ID of the root folder to connect to. It is the alphanumeric code in the URL to the folder on the Google Drive website (after
/folders/).gdrive client id (optional): This is a client ID that can be provided to speed up data transfer. See here for a guide on generating the client ID through the Google API Console. If not provided, RClone’s shared default client ID is used, which may be slower.
central path (optional): This is the path to the project relative to the root folder. If not provided, it is assumed the
gdrive_root_folder_idpoints directly to the project folder.
Once the configs are saved, we can set up the connection by clicking Set Up Google Drive Connection
(through the TUI) or running the function setup_gdrive_connection() in Python.
Important
If you change the gdrive_root_folder_id, you must re-run the connection set up.
Google Drive Example
Let’s say the central project was stored on a Google Drive folder
with root folder id 1KAN9QLD2K2EANE, and your Google Drive client id
is 93412981629-2icf0ba09cks9skjkcrs85tinf73s2bqv.apps.googleusercontent.com.
We want to store the project at the path (relative to the root folder)
/my_name/my_projects/project_name/.
Then the settings would be:
gdrive root folder id: 1KAN9QLD2K2EANE
gdrive client id: 93412981629-2icf0ba09cks9skjkcrs85tinf73s2bqv.apps.googleusercontent.com
central path: /my_name/my_projects/project_name/
You may pass the central path without the project name, it will be automatically included.
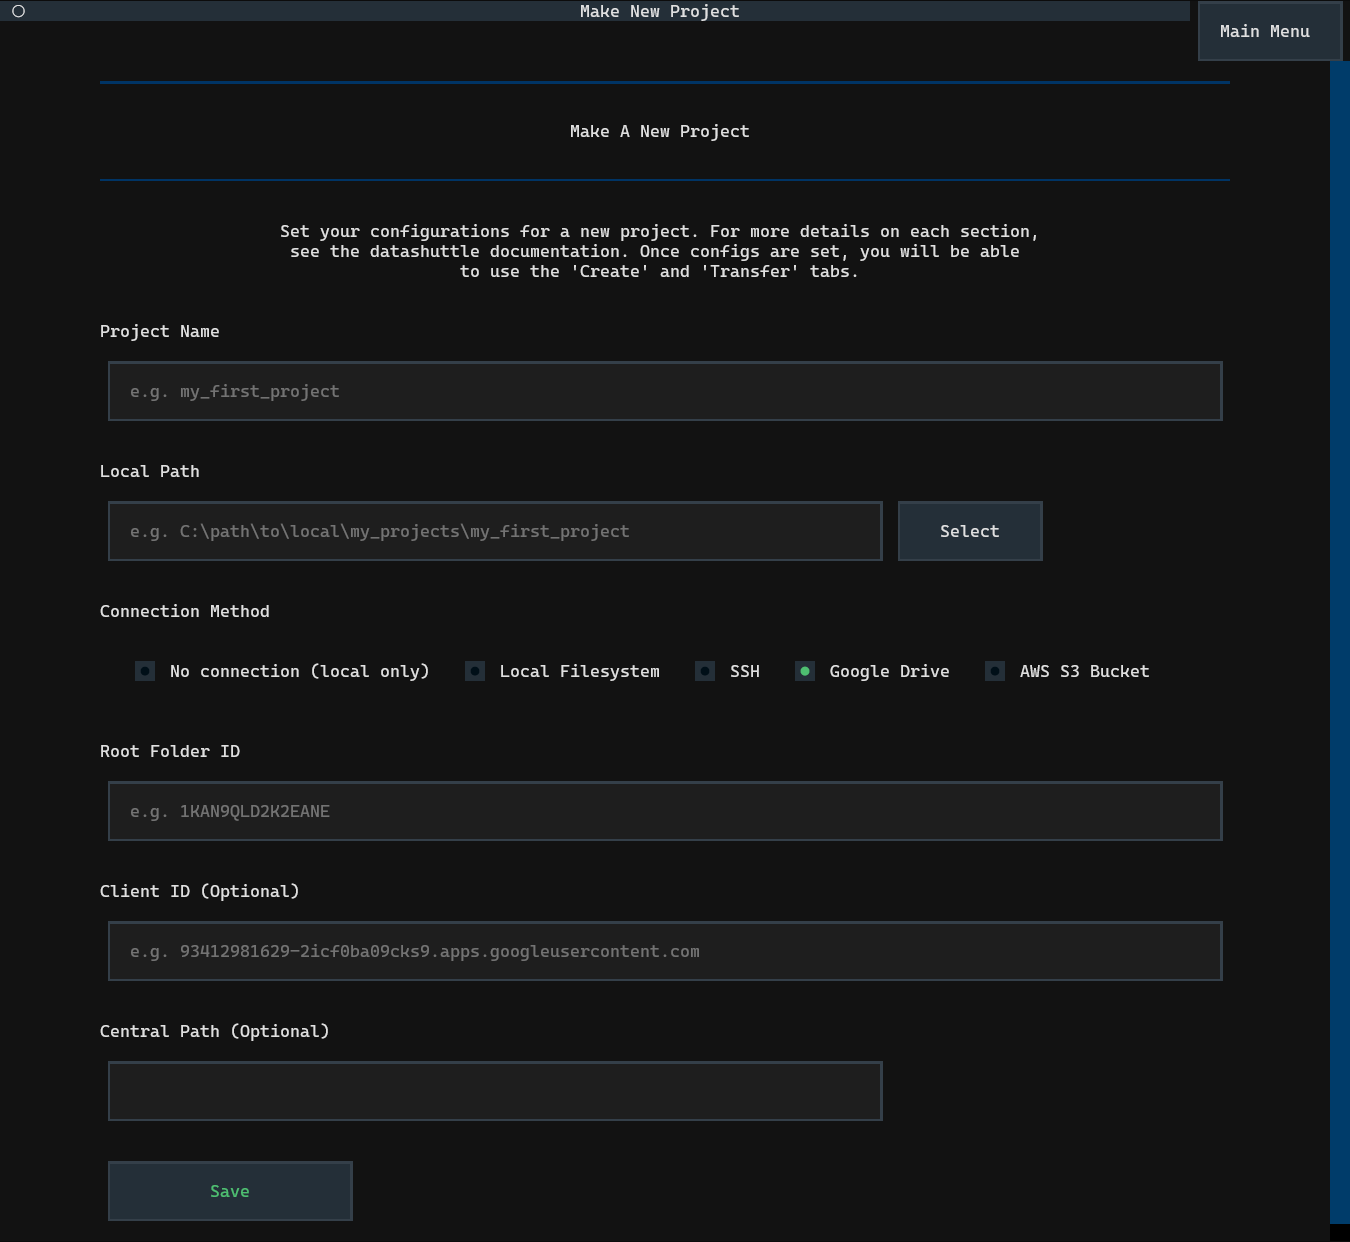
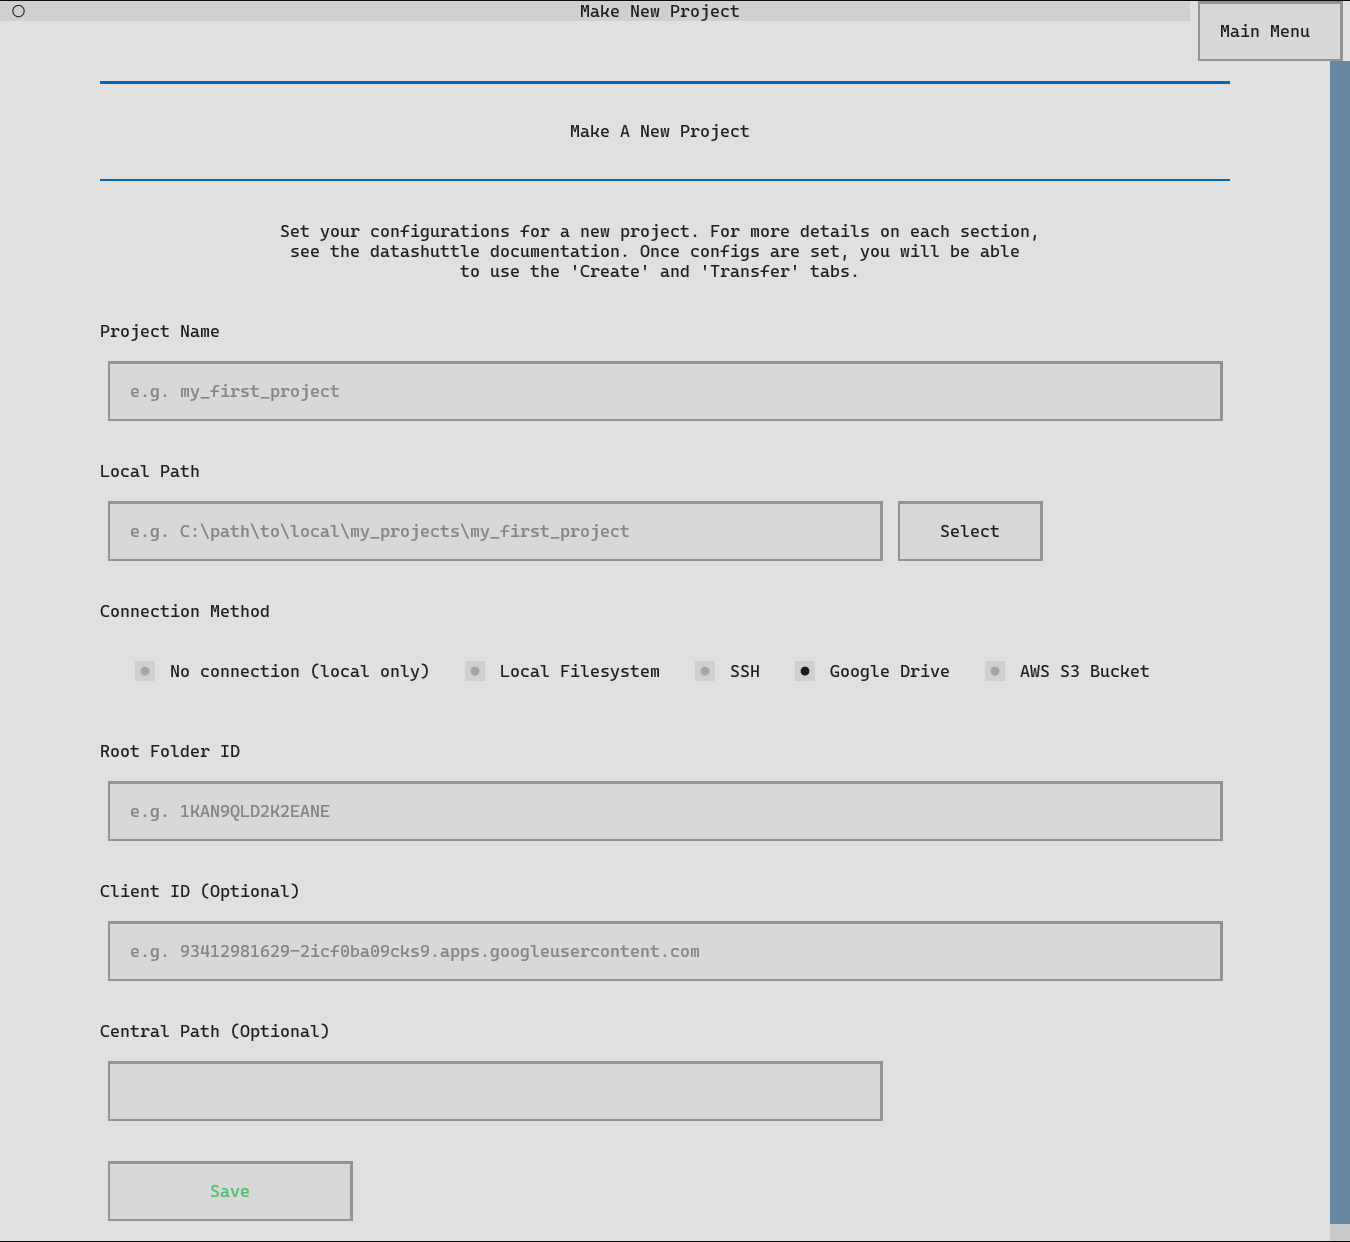
When setting up a new project, the project name and local path can be input exactly the same as when setting with local filesystem.
Select the Connection Method as Google Drive.
Next, input the Google Drive Root Folder ID, Client ID and
Central Path as described above.
Clicking Save will save these project configs. A
Set up Google Drive Connection button will appear. Click to
start the setup, you will be required to enter your Google Drive
client secret and then authenticate via a browser.
If you do not have access to an internet browser on your machine, instructions will be provided for browserless connection set up.
The connection_method configuration must be set to "gdrive"
to use the Google Drive for data transfers.
Enter the central_path, gdrive_root_folder_id and
gdrive_client_id as described above.
project.make_config_file(
	local_path=r"C:\path\to\local\my_projects\my_first_project",
	central_path="/my_name/my_projects/project_name/",
	connection_method="gdrive",
	gdrive_client_id="93412981629-2icf0ba09cks9skjkcrs85tinf73s2bqv.apps.googleusercontent.com",
	gdrive_root_folder_id="1KAN9QLD2K2EANE",
)
Next, a one-time command to set up the connection must be run:
project.setup_gdrive_connection()
Running setup_gdrive_connection() will prompt to you to enter your
Google Drive client secret.
Finally, you will be required to authenticate to Google Drive via your browser. If you do not have access to an internet browser on your machine, instructions will be provided for browserless connection set up.
Connecting to central storage through AWS S3 Bucket#
The following details are required to connect to an AWS S3 Bucket:
aws access key id: This is the access key ID that allows you to connect to AWS buckets and can be set up through the AWS website. See here for a guide on creating an access key and this guide for ensuring your access key has the correct permissions. You will also require the associated aws secret access key that acts as a password.
aws region: This is the region of your AWS bucket as stated on the bucket details on the AWS website.
central path: For AWS connections, the
central_pathmust start with the bucket name. You can then extend this to point to the project folder on the bucket, or leave it as only the bucket name only to transfer directly to the bucket root.
Once the configs are saved, we can set up the connection by clicking Set Up AWS Connection
(through the TUI) or running the function setup_aws_connection() in Python.
AWS Example
Let’s say the central project was stored on an AWS bucket in the region
eu-north-1, and your AWS access key id
is ADI82KSN29OE10CKAO92MSW9.
We want to store the project at the path (starting with the bucket name)
my_bucket_name/my_name/my_projects/project_name/.
Then the settings would be:
aws access key id: ADI82KSN29OE10CKAO92MSW9
aws region: eu-north-1
central path: my_bucket_name/my_name/my_projects/project_name/
You may pass the central path without the project name, it will be automatically included.

When setting up a new project, the project name and local path can be input exactly the same as when setting with local filesystem.
Select the Connection Method as AWS S3.
Next, input the AWS Access Key ID, AWS Region and
Central Path as described above.
Clicking Save will save these project configs. A button
Set up AWS Connection will appear. Click to
start the setup, you will be required to enter your AWS Secret Access Key.
The connection_method configuration must be set to "aws"
to use the AWS for data transfers.
Enter the central_path, aws_access_key_id and
aws_region as described above.
project.make_config_file(
	local_path=r"C:\path\to\local\my_projects\my_first_project",
	central_path="my_bucket_name/my_name/my_projects/project_name/",
	connection_method="aws",
	aws_access_key_id="ADI82KSN29OE10CKAO92MSW9",
	aws_region="eu-north-1",
)
Next, a one-time command to set up the AWS connection must be run:
project.setup_aws_connection()
Running setup_aws_connection() will require entering your
AWS Secret Access Key and the setup will be completed.
Encrypting your connection credentials#
Datashuttle uses RClone for all data transfers. RClone stores connection credentials in a local configuration file that, by default, is not encrypted.
This file can include:
SSH: your private SSH key
Google Drive: your OAuth access token and client secret
Amazon S3: your AWS Access Key ID and Secret Access Key
These are stored in your home directory, which is expected to be secure. However, for an additional layer of security, it is possible to encrypt the Rclone config file using the system credential manager of your operating system. This file will then be unreadable for anyone who does not have access to your machine user account. Note that anyone with access to the machine user account will be able to decrypt the Rclone file.
For details on setting up encryption, see the section below. On Windows, you will
need to be running in PowerShell, and on Linux you will need pass package installed.
On Windows, the PowerShell PSCredential system to encrypt the RClone config file.
A random password is generated and stored as a
.clixmlcredential file.The password can only be decrypted by the same Windows user account that created it.
The encryption and decryption process uses PowerShell, so PowerShell must be available (it will not work from
cmd.exe).
When encryption is enabled, RClone automatically retrieves the password from the PSCredential store whenever it runs.
On macOS, the built-in Keychain via the security command-line tool is used.
A random password is generated using
openssl rand -base64 40.The password is securely stored in your login Keychain under the service name corresponding to your RClone config.
Only your macOS user account can access this key.
When you first set up encryption, macOS may prompt you to authorize access to the Keychain. Once approved, RClone will automatically retrieve the key when needed.
On Linux, the pass package is used to manage the encryption. You can install it with:
sudo apt install pass
Next, you need to initialize the password store with your GPG key:
pass init <your-gpg-id>
Once initialized, Datashuttle will:
Generate a random password with
openssl rand -base64 40Store it securely in the GPG-encrypted password store
Configure RClone to retrieve it automatically with:
/usr/bin/pass <rclone_config_name>
Removing encryption#
Encryption of the Rclone config file used for the central connection (either SSH, Google Drive or AWS) can be removed with the following command: