Getting Started#
This tutorial will give a full introduction to starting a neuroscience project with datashuttle.
We will highlight datashuttle’s key features by creating a ‘mock’ experiment, standardised to the NeuroBlueprint style.

We will upload data to a central data storage machine, as you would do at the end of a real acquisition session.
Finally we will download data from the central storage to a local machine, as you would do during analysis.
Installing datashuttle#
The first step is to install datashuttle by following the instructions on the How to Install page.
Entering datashuttle launch after installation
will launch the application in your terminal:

We can check datashuttle has installed correctly by by importing it into Python without error:
from datashuttle import DataShuttle
Make a new project#
The first thing to do when using datashuttle on a new machine is to set up your project.
We need to set the:
project name
location of the project our local machine (where the acquired data will be saved).
location of the project on the central data storage (where we will upload the acquired data).
datashuttle supports connecting to the central storage machine
either as a mounted drive or through SHH.
See How to Make a New Project
for detailed instructions for
connecting a mounted drive or by using SSH.
In this walkthrough, we will set our central storage as a folder on our local machine for simplicity.
Click Make New Project and you
will be taken to the project setup page.
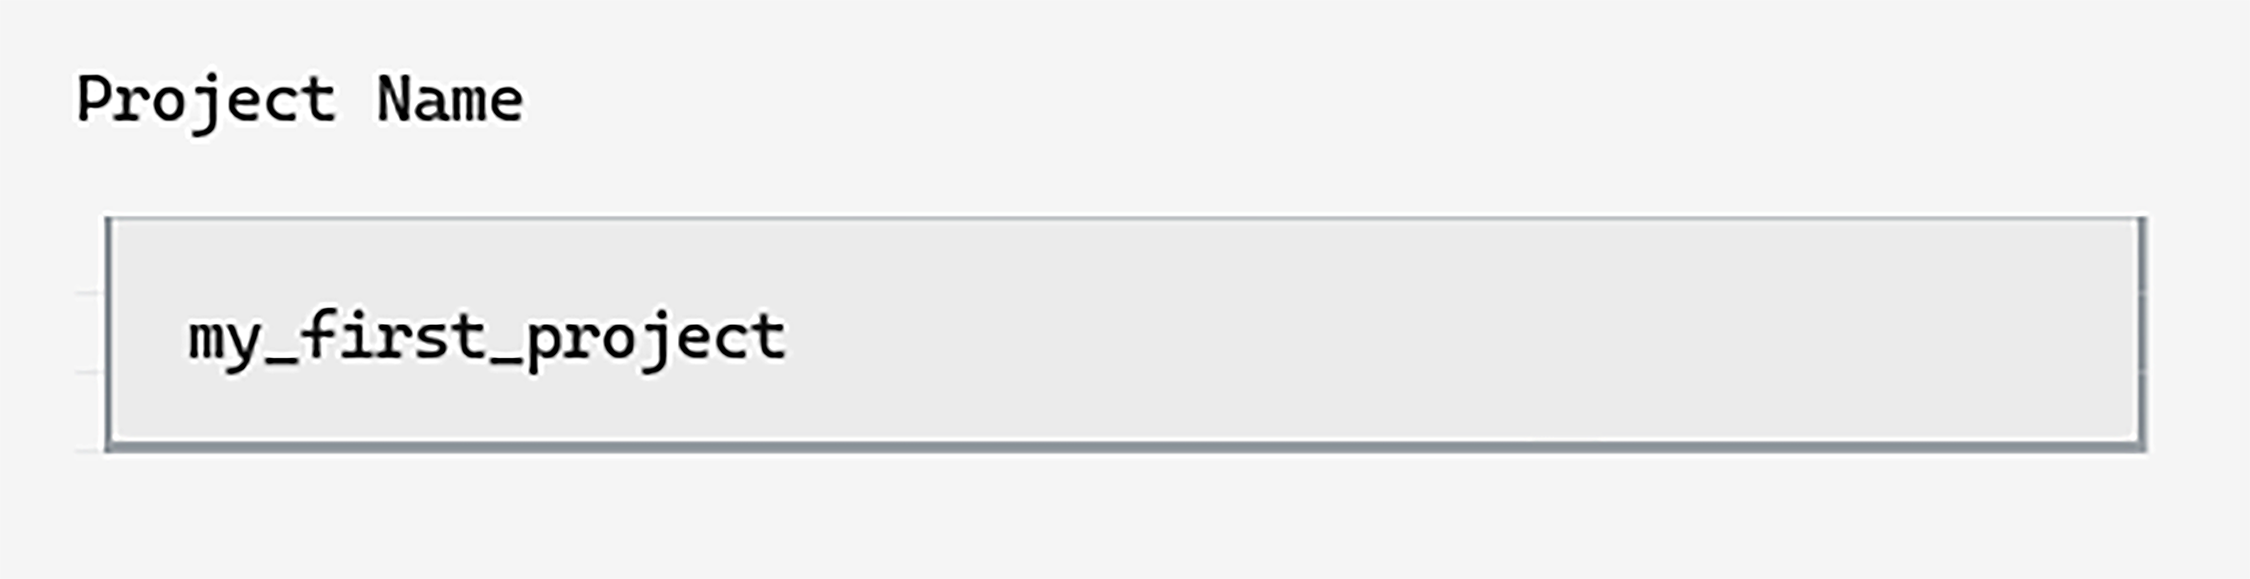
We’ll call our project my_first_project and can type this into
the first input box on the page:

Next we need to specify the local path, the location on our machine where acquired data will be saved. Choose any directory that is convenient.
In this example we will add the folder "local"
to the end of the filepath for clarity:


The filepath can be typed into the input, copied in with CTRL+V
or selected from a directory tree using the Select button.
Finally, we need to select the central path. Usually this would be a path to a mounted central storage drive or relative to the server path if connecting via SSH.
In this tutorial, we will set this next to the local path for convenience.
Copy the contents of the local path input by clicking it, hovering over it and pressing
CTRL+Qto copy.Paste it into the central path input with
CTRL+Vand change “local” to “central”.


You can now click Save to set up the project.
Once the project is created, the Go to Project Screen button
will appear. Click to move on to the Create Project page.
First, we must initialise the DataShuttle object
with our chosen project_name.
We will call our project "my_first_project":
from datashuttle import DataShuttle

project = DataShuttle("my_first_project")
Next, we will use the make_config_file() method set the
configurations (‘configs’) for our project.
First, we need to specify the local_path as the location on our machine
where the projact (and acquired data) will be located.
Next, we set the central_path to the project location on the central storage machine.
In this tutorial, we will set this next to the local_path for convenience.
Finally, we will set the connection_method to "local_filesystem"
as we are not using SSH in this example.
project.make_config_file(
    local_path=r"C:\Users\Joe\data\local\my_first_project",
    central_path=r"C:\Users\Joe\data\central\my_first_project",
    connection_method="local_filesystem",
)
If you want to change any config in the future, use the update_config_file() method
project.update_config_file(
    local_path=r"C:\a\new\path"
)
We are now ready to create our standardised project folders.
Creating folders#
Let’s imagine today is our first day of data collection,
and we are acquiring behaviour (behav) and electrophysiology (ephys) data.
We will create standardised subject, session and datatype folders in which to store the acquired data.
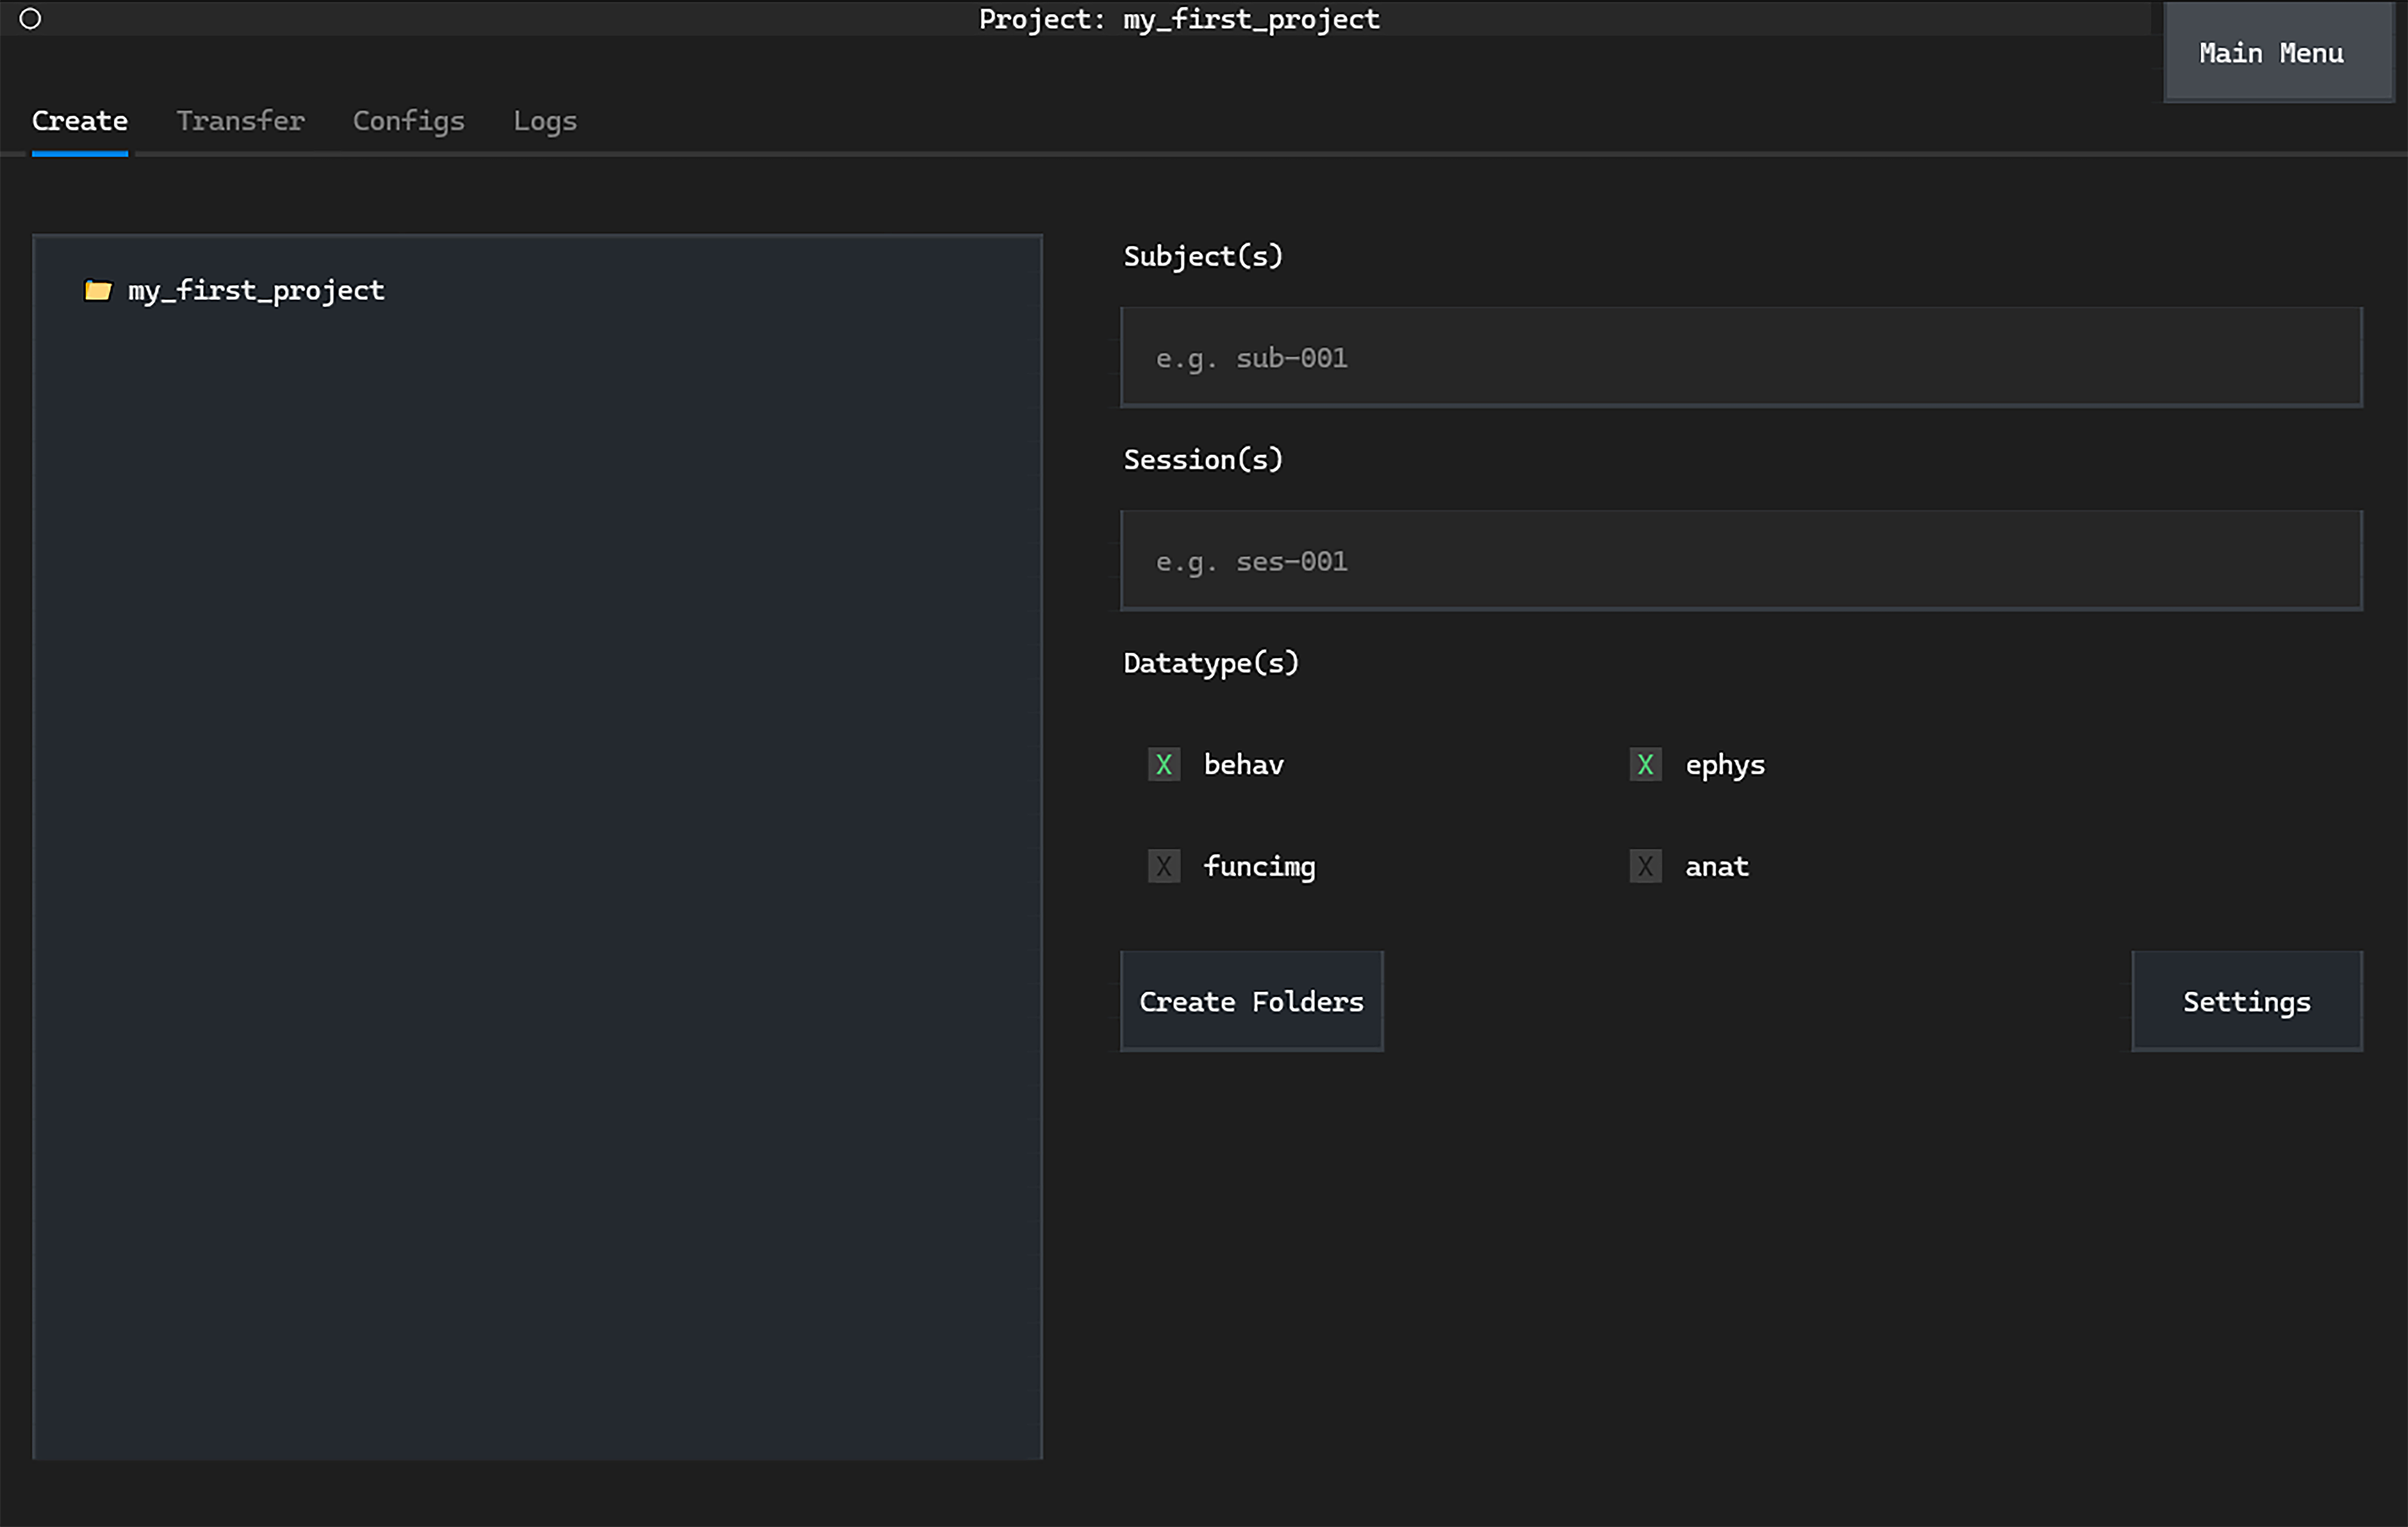
We will create standardised project folders using the Create tab.

Following the NeuroBlueprint
style we will call the first subject sub-001. Additional key-value pairs
could be included if desired (see the
NeuroBlueprint specification
for details).
In the session name we will include today’s date as an extra key-value pair.
Our first session will be ses-001_date-<todays_date>.
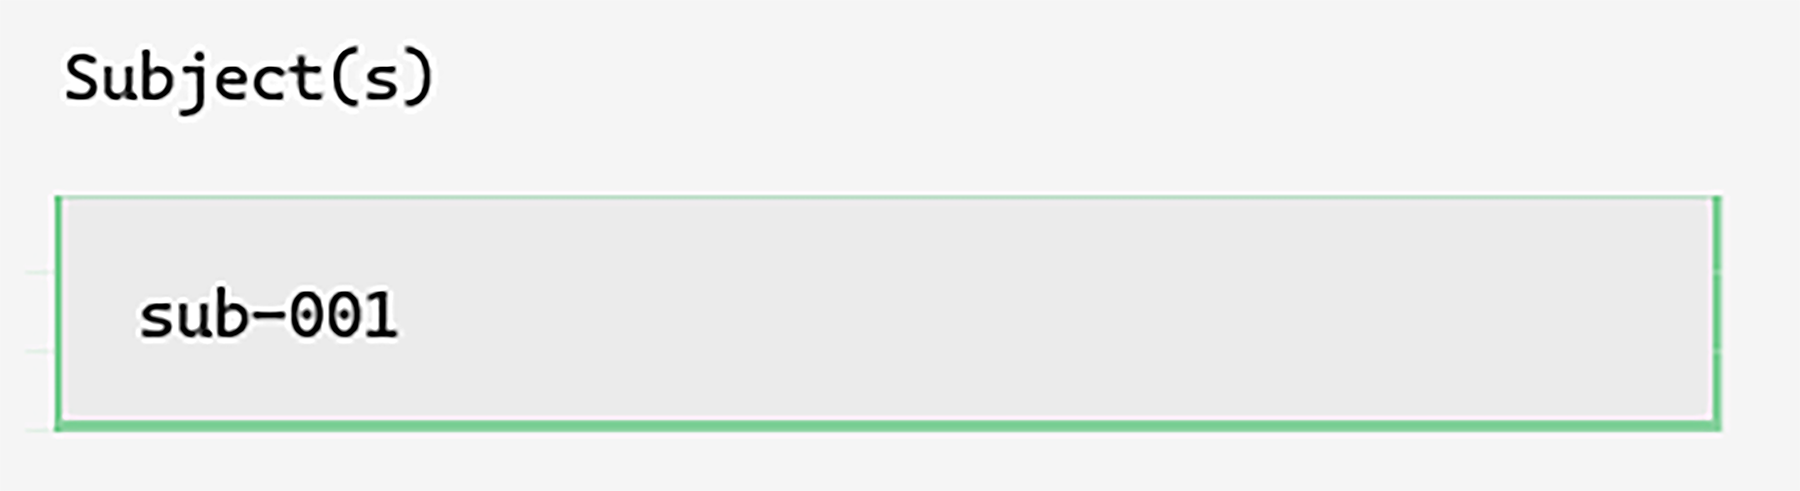
We could start by typing sub-001 into the subject input box, but
it is more convenient to simply double-left-click it. This will suggest
the next subject number based on the current subjects in the project:

Note
The subject and session folder input boxes have live validation. This will flag any NeuroBlueprint errors with a red border. Hover over the input box with the mouse to see the nature of the error.
Next, we can input the session name. Double-left-click on the session
input to automatically fill with ses-001. We can then add
today’s date with the @DATE@ convenience tag:
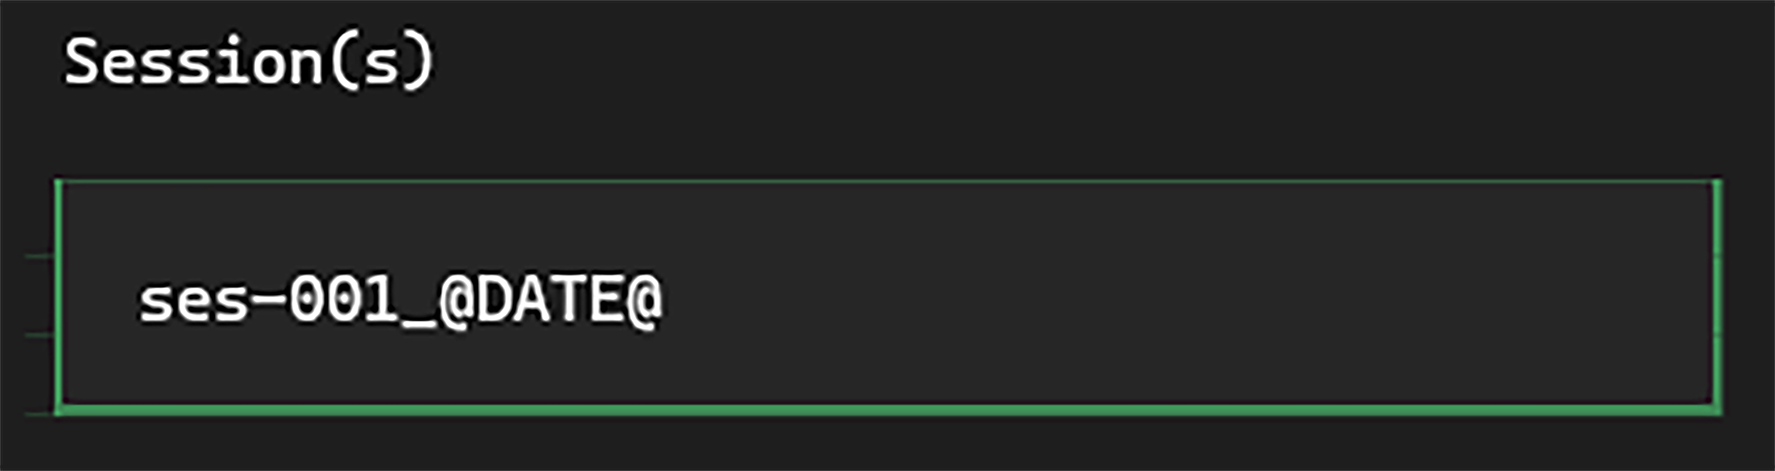

Today’s date will be automatically added when the session folder is created.
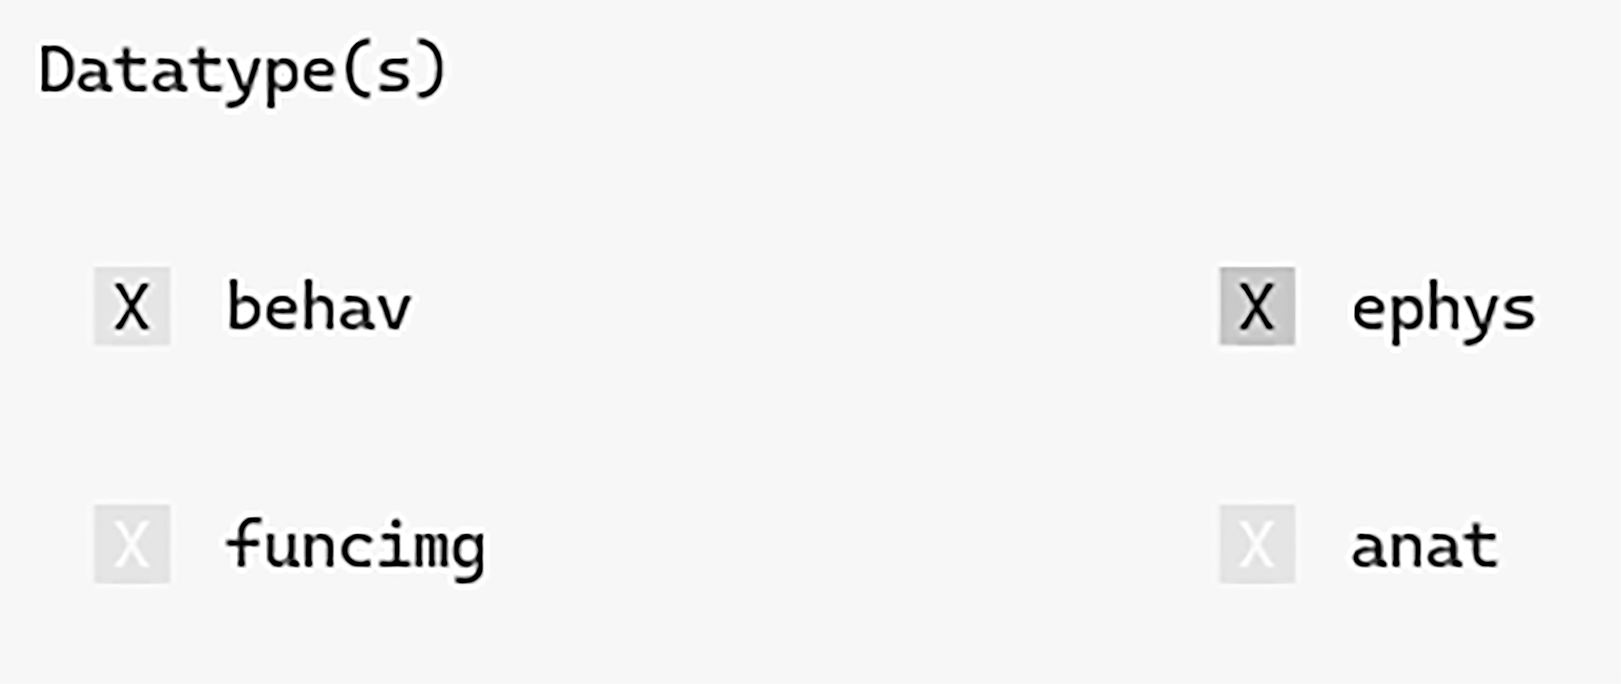
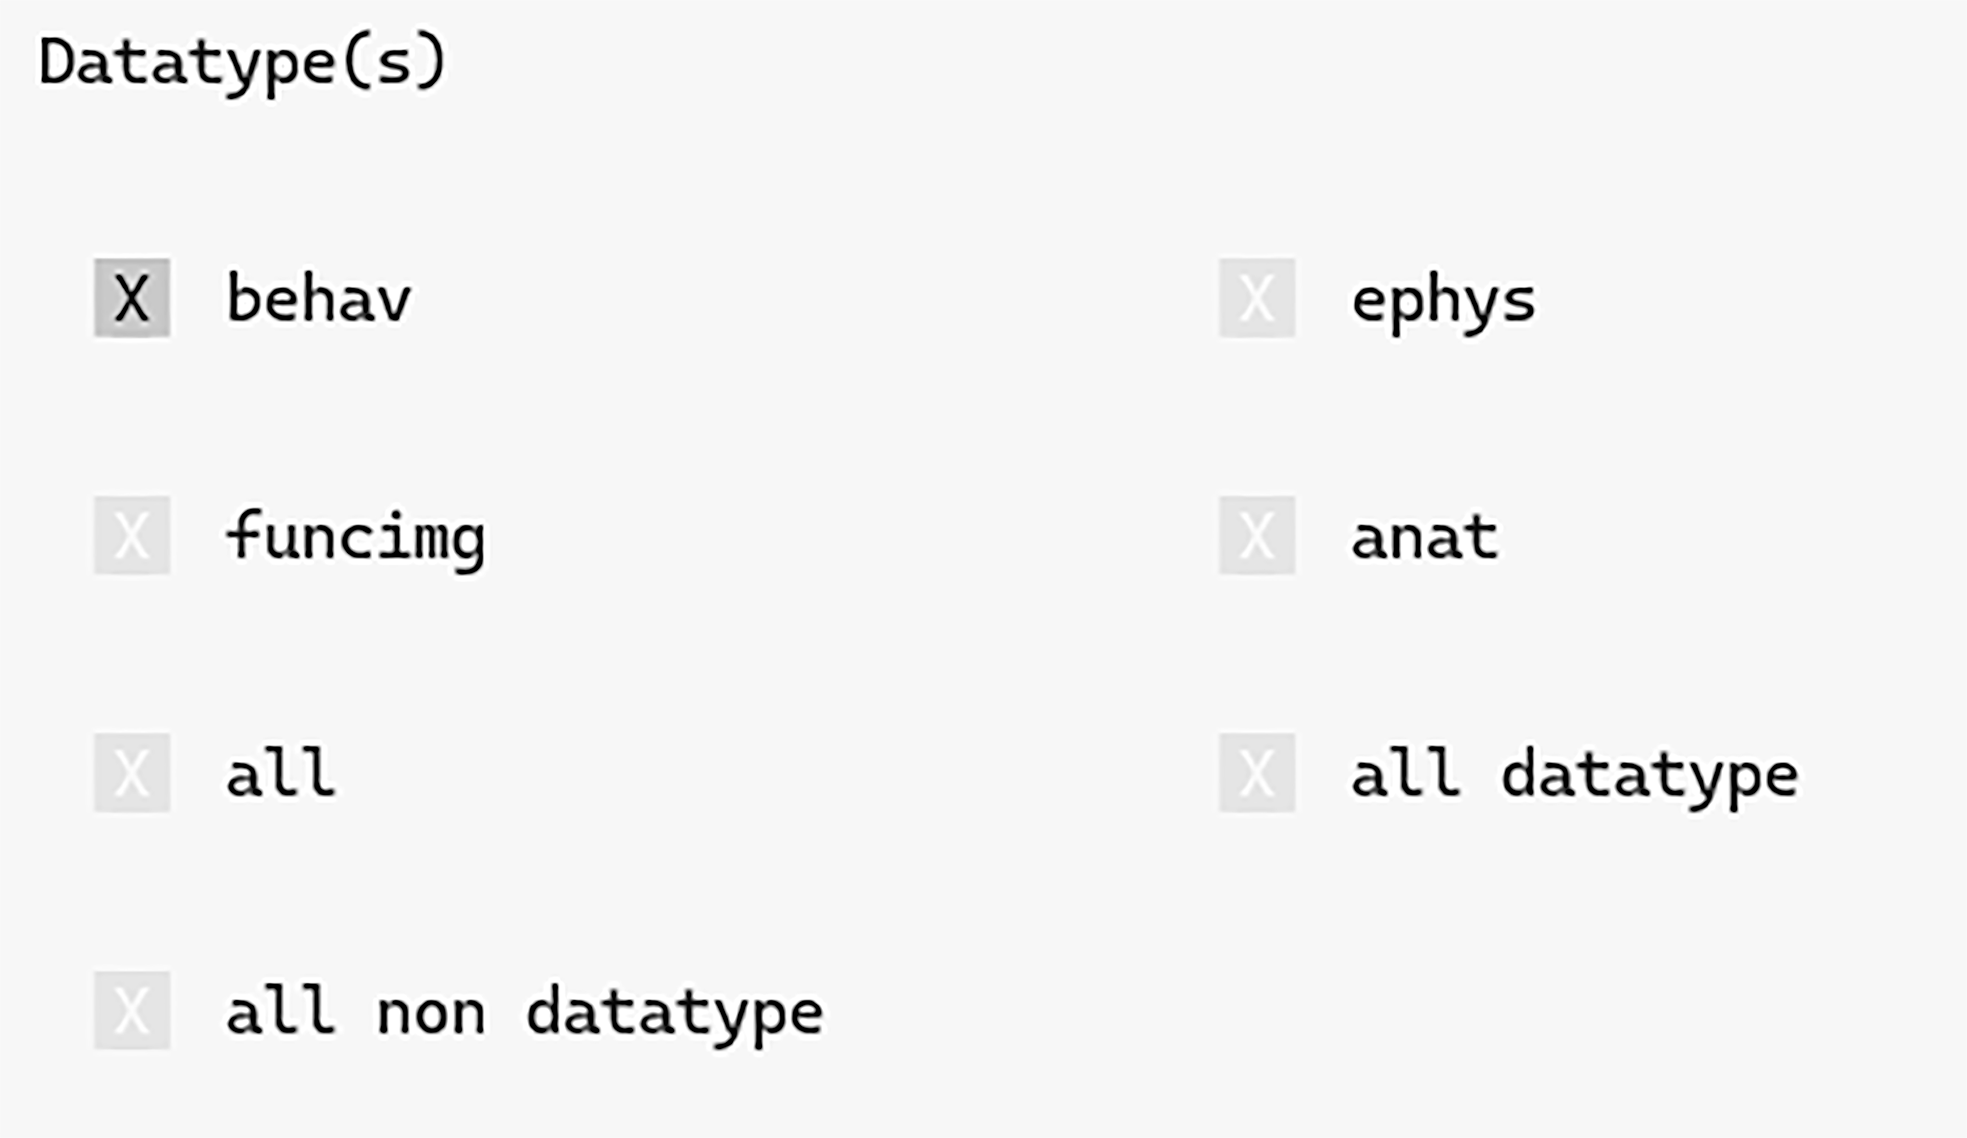
The datatype folders to create can be set with the Datatype(s) checkboxes.
Uncheck the funcimg and anat datatype boxes to ensure
we only create behav and ephys folders.

Finally, click Create Folders to create the project folders.
We will create project folders with the create_folders() method.
Following the NeuroBlueprint
style we will call the first subject sub-001. Additional key-value pairs
could be included if desired (see the
NeuroBlueprint specification
for details).
In the session name we will include today’s date as an extra key-value pair.
Our first session will be ses-001_date-<todays_date>.
Finally, we will tell datashuttle to create behav and ephys datatype
folders only:
project.create_folders(
    top_level_folder="rawdata",
    sub_names="sub-001",
    ses_names="ses-001_@DATE@",
    datatype=["behav", "ephys"]
)
Navigate to the local_path in your system filebrowser to see the created folders.
Note
The names of the folders to be created are validated on the fly against NeuroBlueprint. An error will be raised if names break with the specification and the folders will not be created.
Two useful methods to automate folder creation are get_next_sub() and
get_next_ses(). These can be used to automatically get the next subject
and session names in a project.
To get the next subject in this project (sub-002) and the next
session for that subject (ses-001) we can run:
next_sub = project.get_next_sub("rawdata", local_only=True)                # returns "sub-001"
next_ses = project.get_next_ses("rawdata", sub=next_sub, local_only=True)  # returns "ses-001"

project.create_folders(
    "rawdata",
    next_sub,
    f"{next_ses}_@DATE@",
    datatype=["behav", "ephys"]
)
The local_only argument restricts the search for the next subject and session
to the local project folder only. Set this to False to consider subjects
and sessions in the central storage.
This was a quick overview of creating folders—see and How to use Create Folder Tags for full details including additional customisation with Name Templates.
Exploring folders#
In our imagined experiment, we will now want to save data from acquisition software into our newly created, standardised folders. datashuttle provides some quick methods to pass the created folder paths to acquisition software.
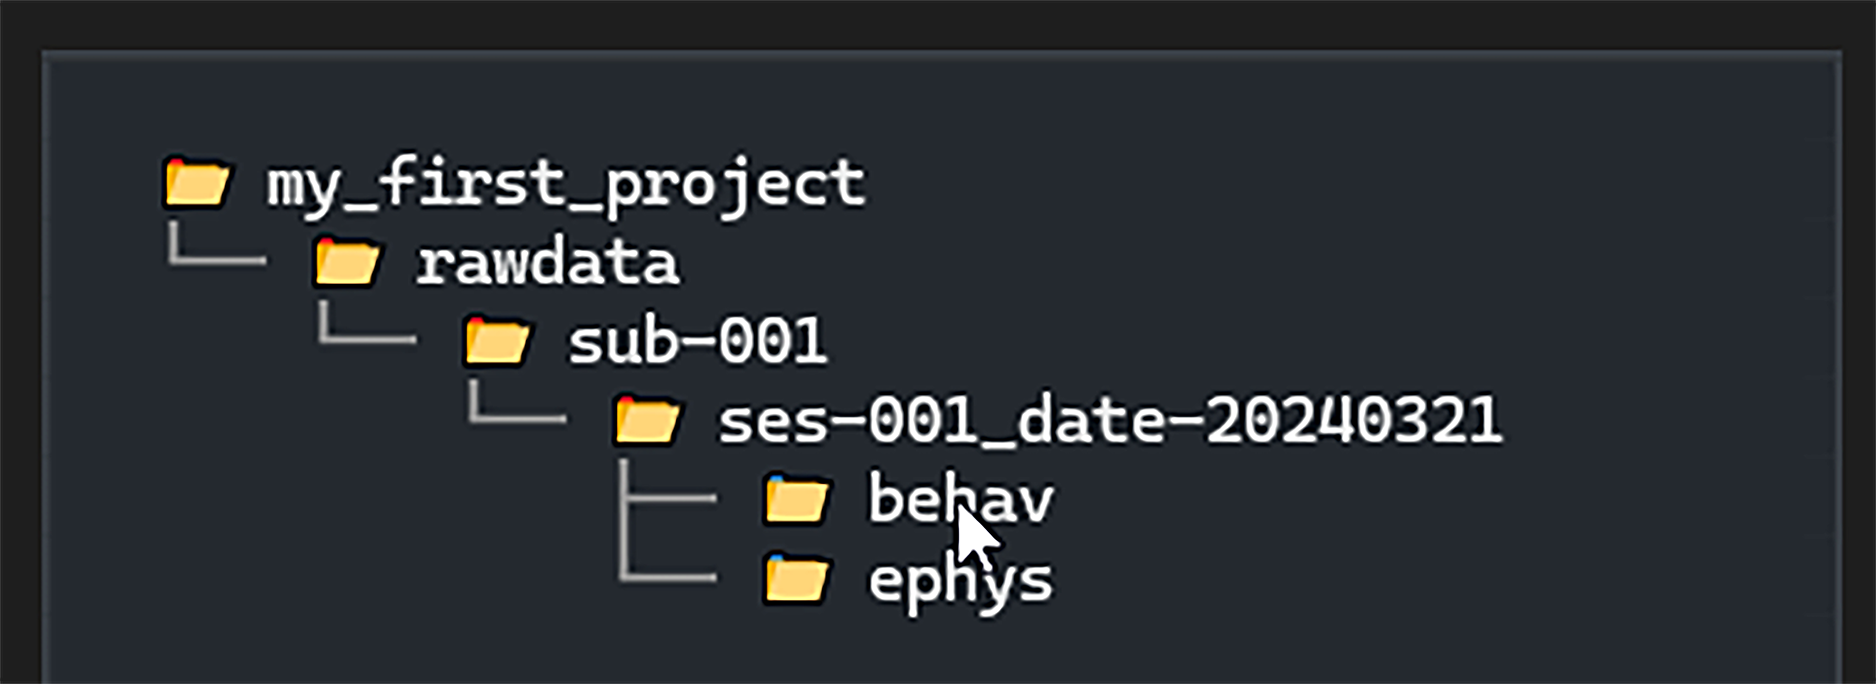
When folders are created the Directory Tree on the left-hand side
will update to display the new folders:
By hovering over a folder with the mouse we can quickly
copy the full path to the folder by pressing CTRL+Q)
(you may need to click the Directory Tree first).
Alternatively, pressing CTRL+O will open the folder in your file browser.
Hover the mouse over the DirectoryTree for a tooltip indicating all possible shortcuts.
Creating mock data for the tutorial
To continue with our experiment we will need to create ‘mock’ acquired data to transfer to central storage. These will take the form of simple text files with their extensions changed.
You can download these files from this link, by right-clicking each file and selecting “Download (or) Save Link As…”. Alternatively you can create them in your favourite text editor.
Next, hover over the behav folder the Directory Tree with your
mouse and and press CTRL+O to open the folder in your file browser.
Move the mock behavioural data file (sub-001_ses-001_camera-top.mp4)
into the behav datatype folder.
Next, repeat this for the ephys datatype by moving the remaining
electrophysiology files to the ephys folder.
Finally, hover the mouse over the Directory Tree and press CTRL+R to refresh.
create_folders() returns the full filepaths of created datatype folders.
These can be used in acquisition scripts to save data to these folders:
folder_path_dict = project.create_folders(
    top_level_folder="rawdata",
    sub_names=["sub-001"],
    ses_names=["ses-001_@DATE@"],
    datatype=["behav", "ephys"]

)

print([path_ for path_ in folder_path_dict["behav"]])
# ["C:\Users\Joe\data\local\my_first_project\sub-001\ses-001_16052024\behav"]
Creating mock data for the tutorial
To continue with our experiment we will need to create ‘mock’ acquired data to transfer to central storage. These will take the form of simple text files with their extensions changed.
You can download these files from this link, by right-clicking each file and selecting “Download (or) Save Link As…”. Alternatively you can create them in your favourite text editor.
Move the mock behavioural data file (sub-001_ses-001_camera-top.mp4)
into the behav datatype folder and the remaining
electrophysiology files to the ephys folder.
Uploading to central storage#
We have now ‘acquired’ behav and ephys data onto our local machine.
The next step is to upload it to central data storage.
In this walkthrough we set the central storage on our local machine for convenience. Typically, this would be an external central storage machine connected as a mounted drive or through SSH.
Warning
The overwrite existing files setting is very important. It takes on the options never, always or if source newer.
See the transfer options section for full details.
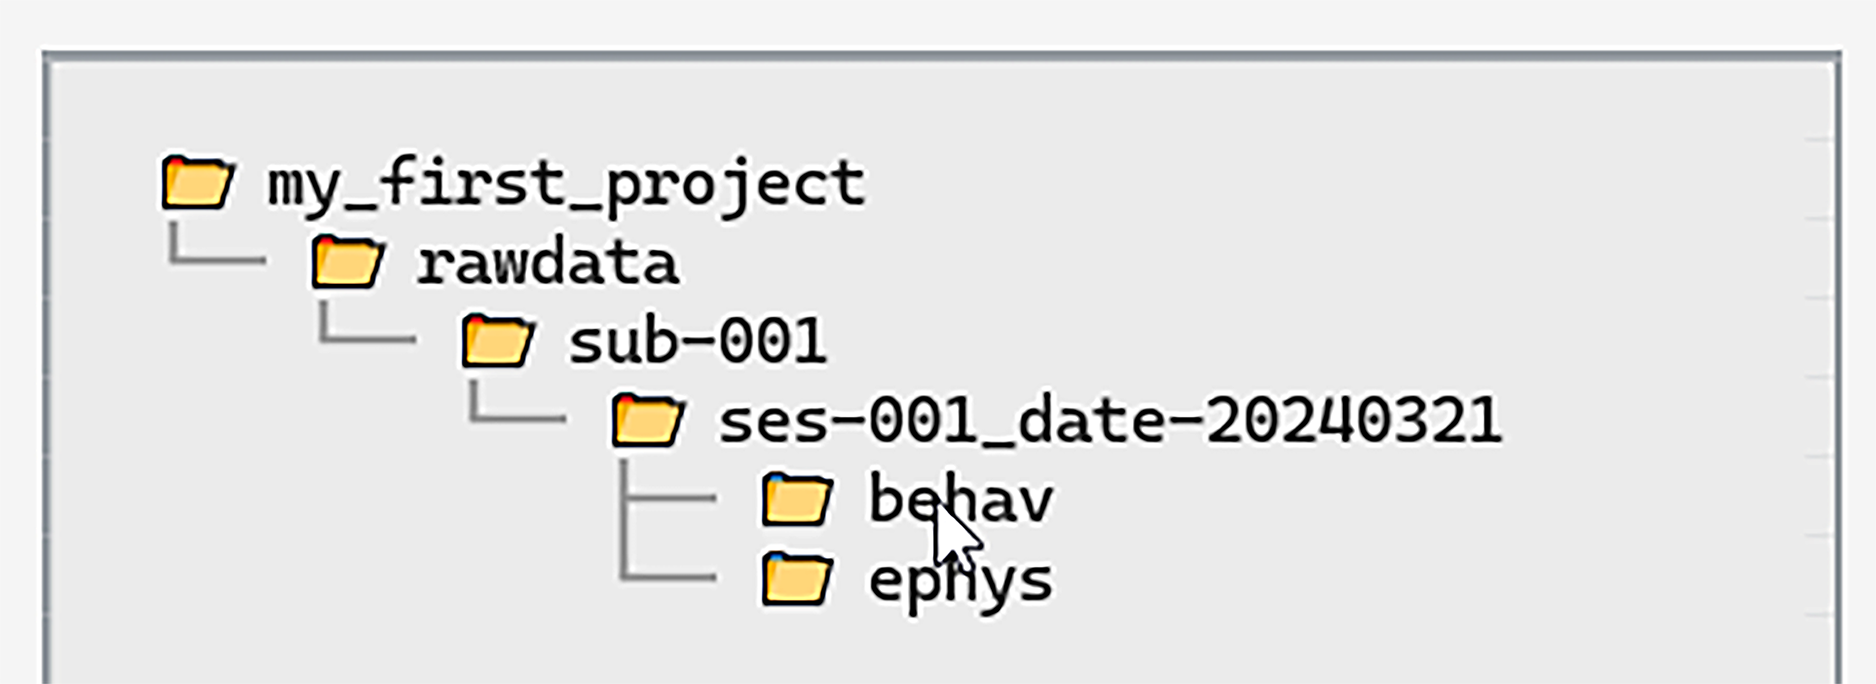
Switch to the Transfer tab. On the left we again
see a Directory Tree displaying the local version of the project:
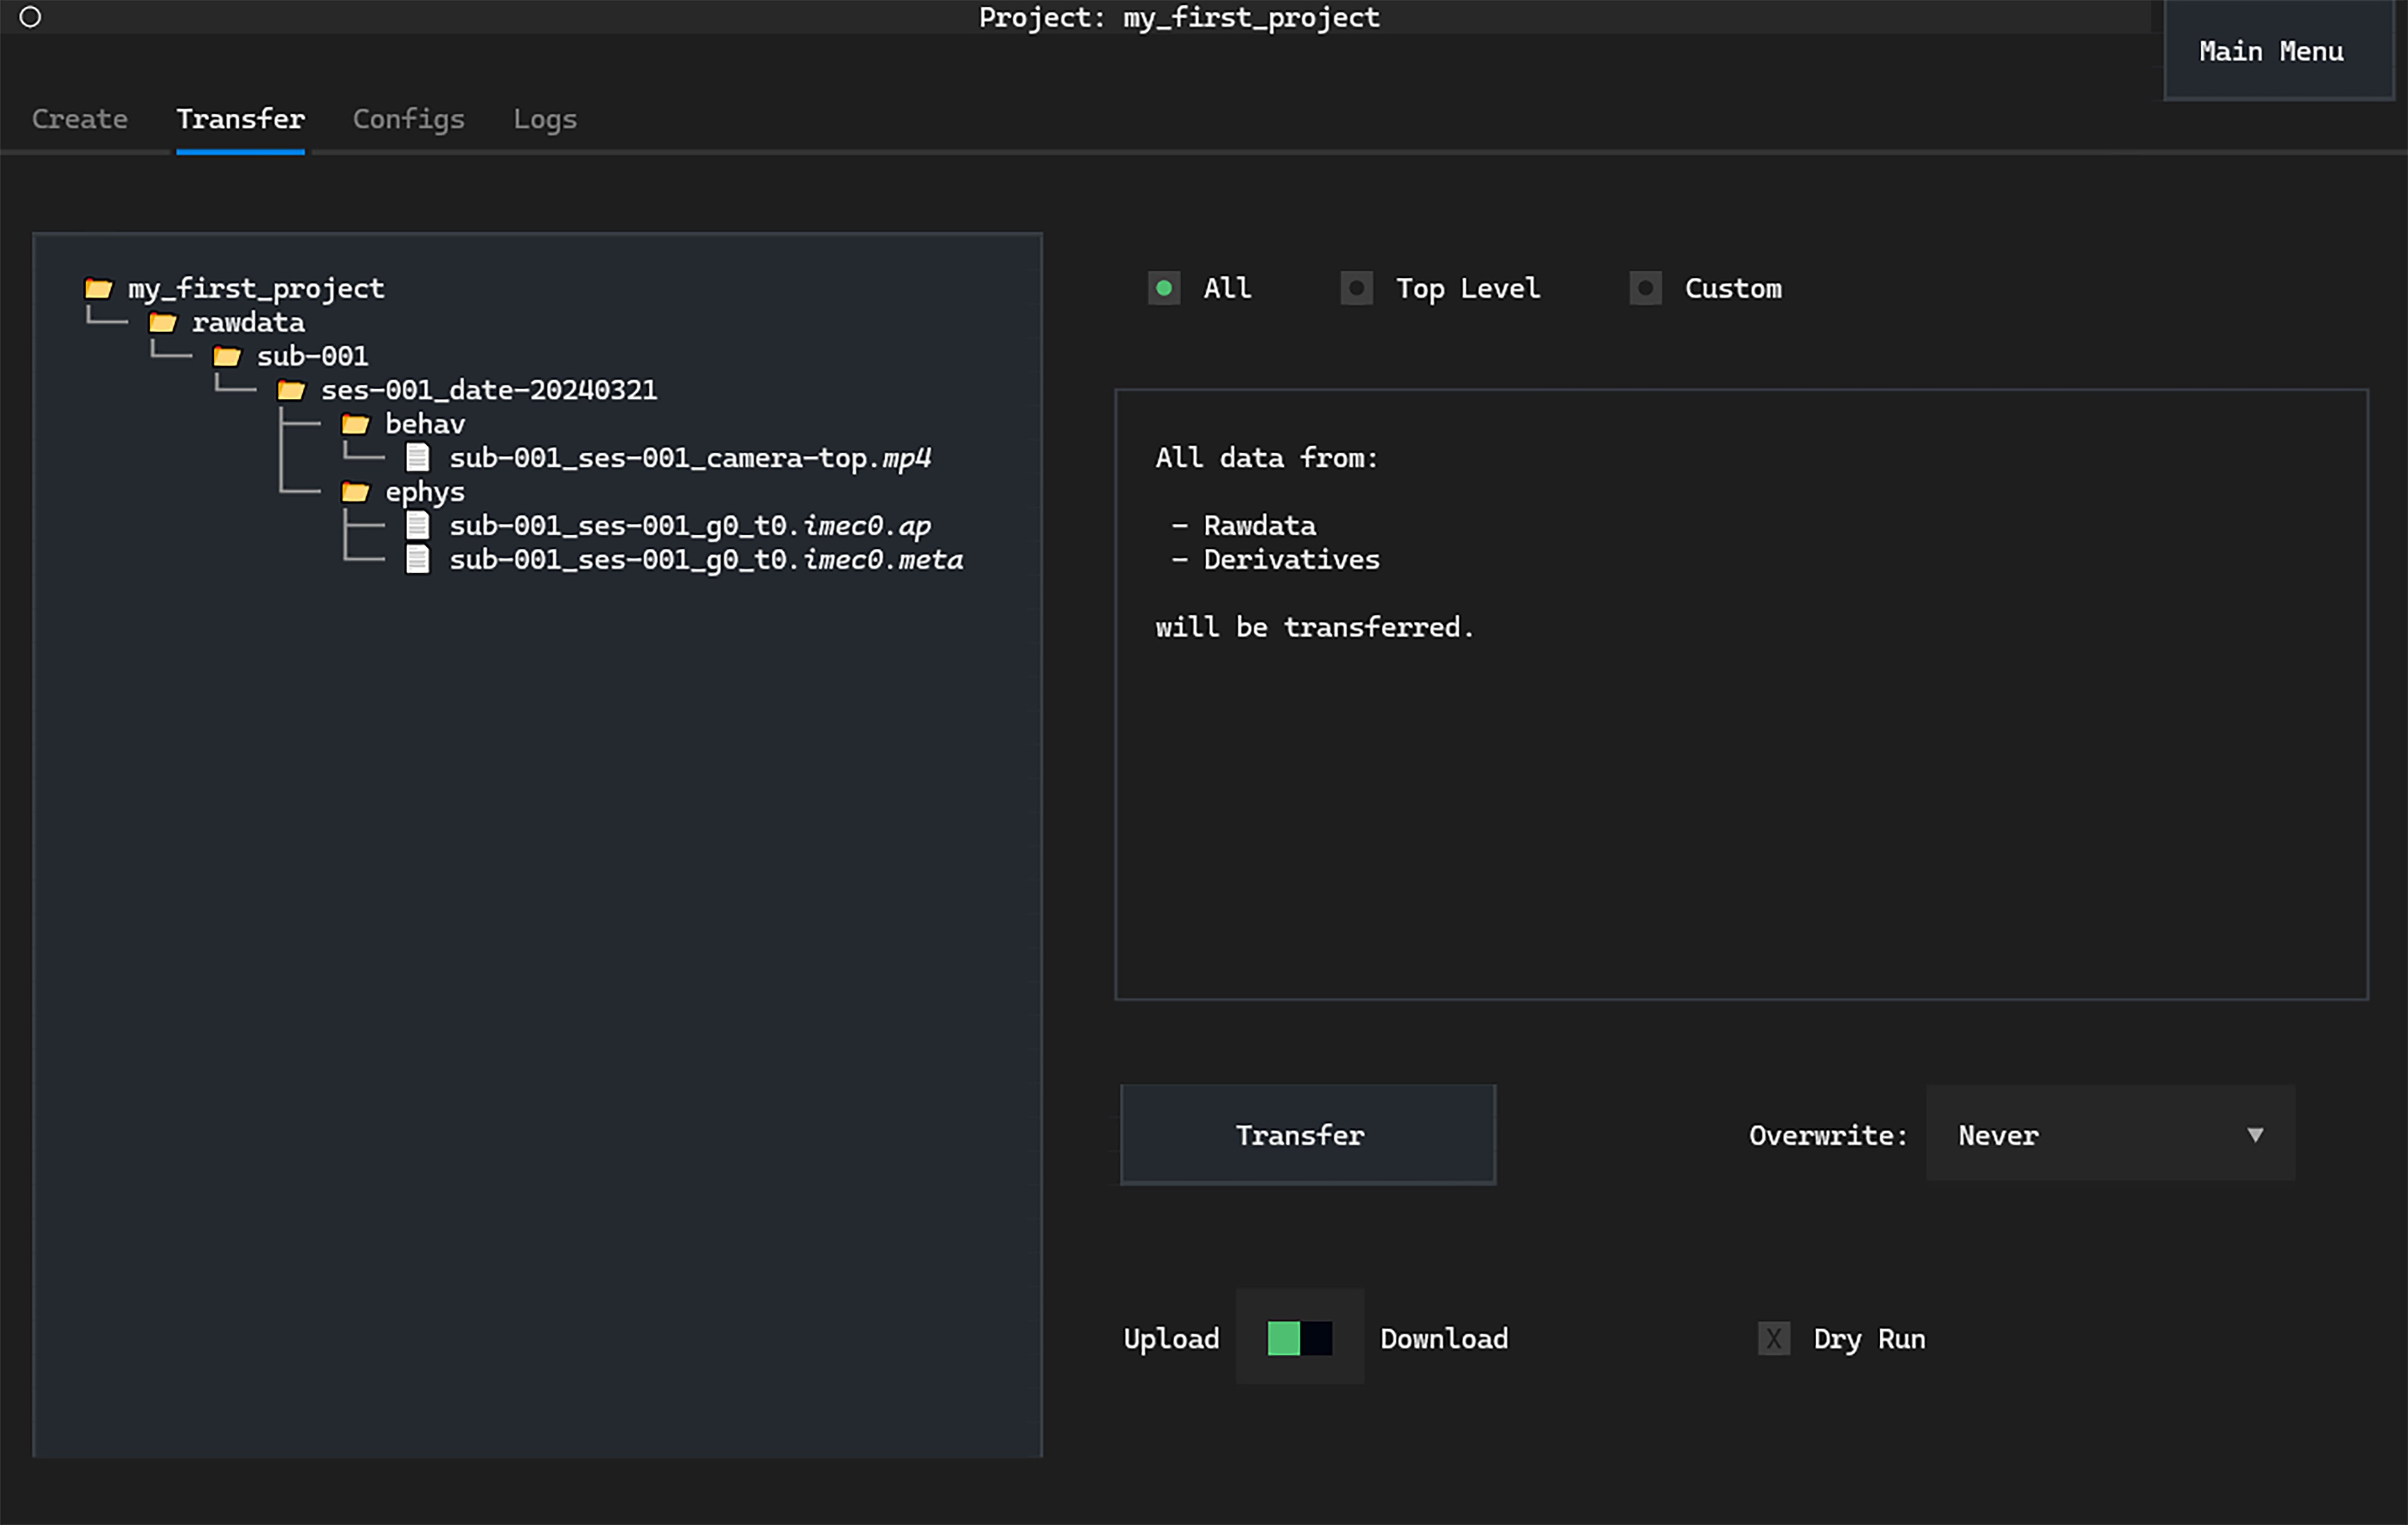

The first page on the Transfer tab allows us to upload the entire project,
both the rawdata and derivatives—see the
NeuroBlueprint specification
for details.
We only have acquired data in the rawdata folder.
We can simply click Transfer to upload everything to central storage.
The data from local will now appear in the “central” folder
(an easy way to navigate to the folder to check
is to go to the Config tab and press CTRL+O on the central path input box).
See the How to Transfer Data page for full details
on transfer options, as well as Top Level Folder and Custom transfers.
Next, we will use Custom transfers to move only a subset of the dataset.
upload_entire_project() is a high level method that uploads all files
in the project.
This includes both the rawdata and derivatives top-level folders—see the
NeuroBlueprint specification
for details.
As we only have a rawdata folder we can simply run:
project.upload_entire_project()
All files will be uploaded from the local version of the project to central storage.
Navigating to the central_path in your systems file browser, the newly transferred data
will have appeared.
Other methods (e.g. upload_rawdata() and upload_custom()) provide customisable
transfers (and every upload method has an equivalent download method).
See the How to Transfer Data page for full details on transfer methods and arguments.
Next, we will use Custom transfers to move only a subset of the dataset.
Downloading from central storage#
Next let’s imagine we are now using an analysis machine on which there is no data. We want to download a subset of data central storage data for further processing.
In this example we will download the behavioural data only from the first session.
In practice datashuttle’s custom data transfers work well when there are many subjects and sessions. For example, we may want to download only the behavioural ‘test’ sessions from a specific range of subjects.
Replicating a fresh machine for the tutorial
To replicate starting on a new local machine, delete the rawdata folder
from your local path.
We will next download data from the central path to our now-empty local project.
In practice when setting up datashuttle on a new machine, you would again make a new project.
We will look at a small subset of possible options here—see How to make Custom Transfers for all possibilities.
The Custom transfer screen has options for selecting specific combinations
of subjects, sessions and datatypes.
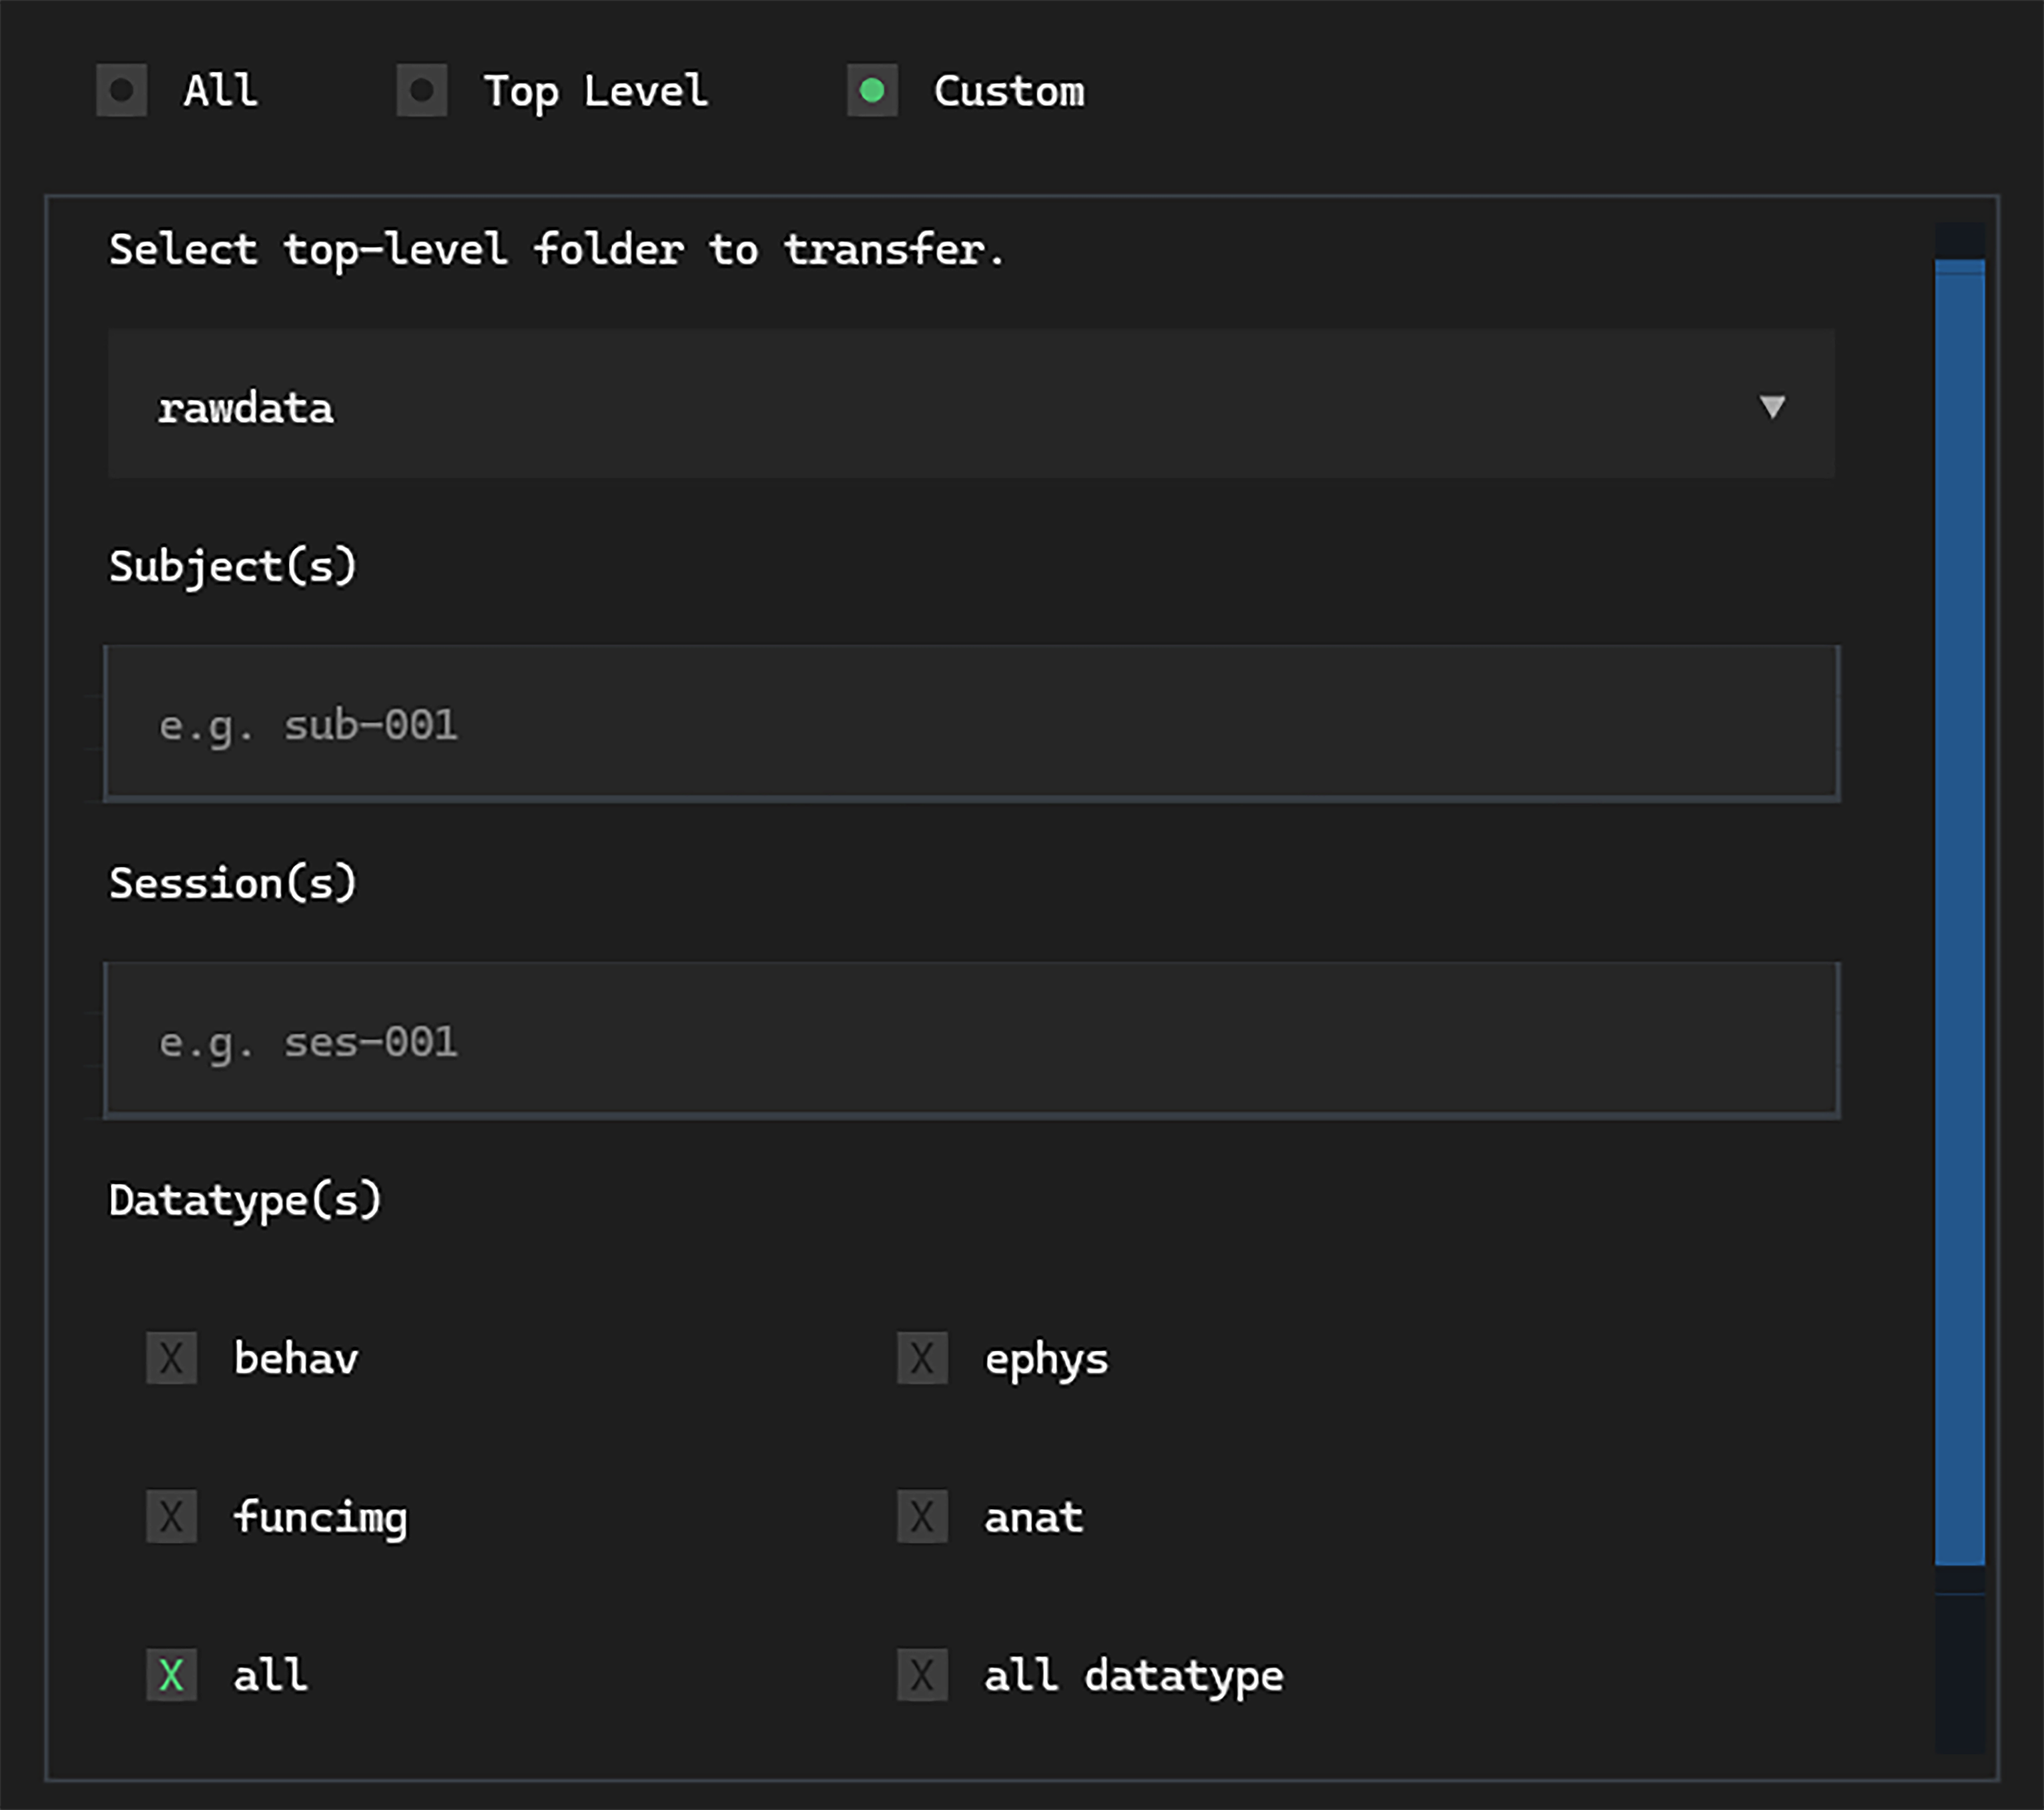

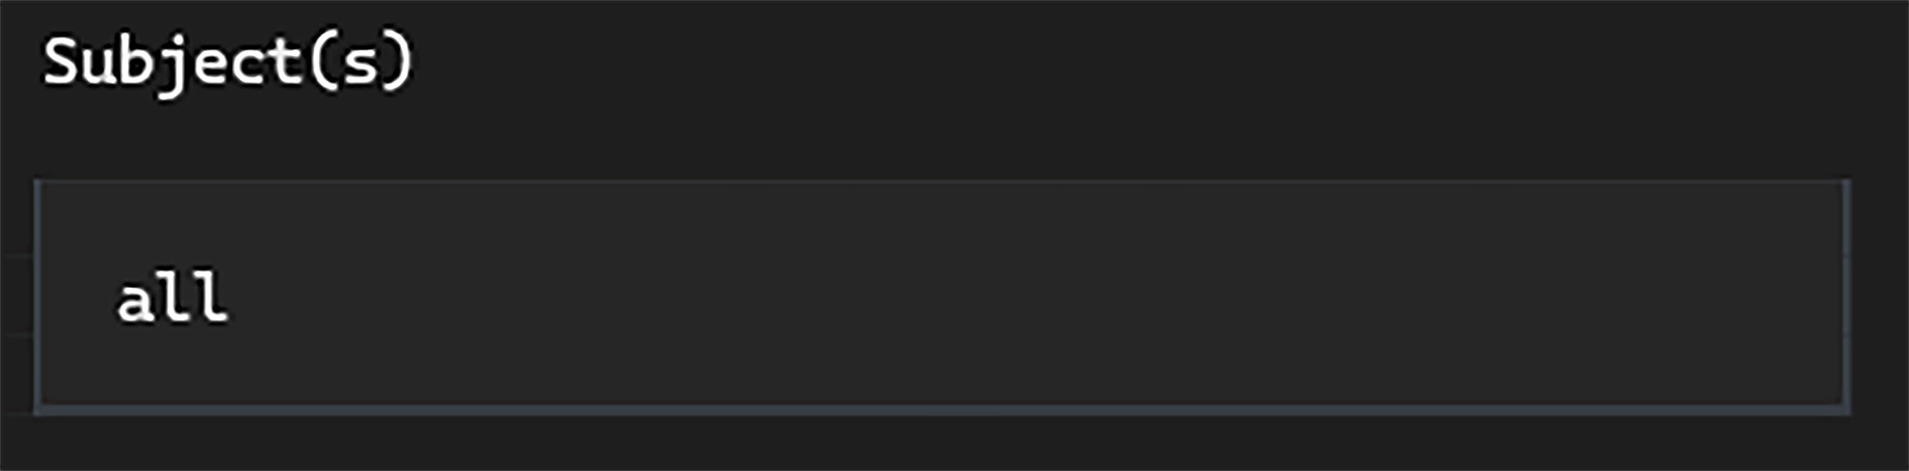
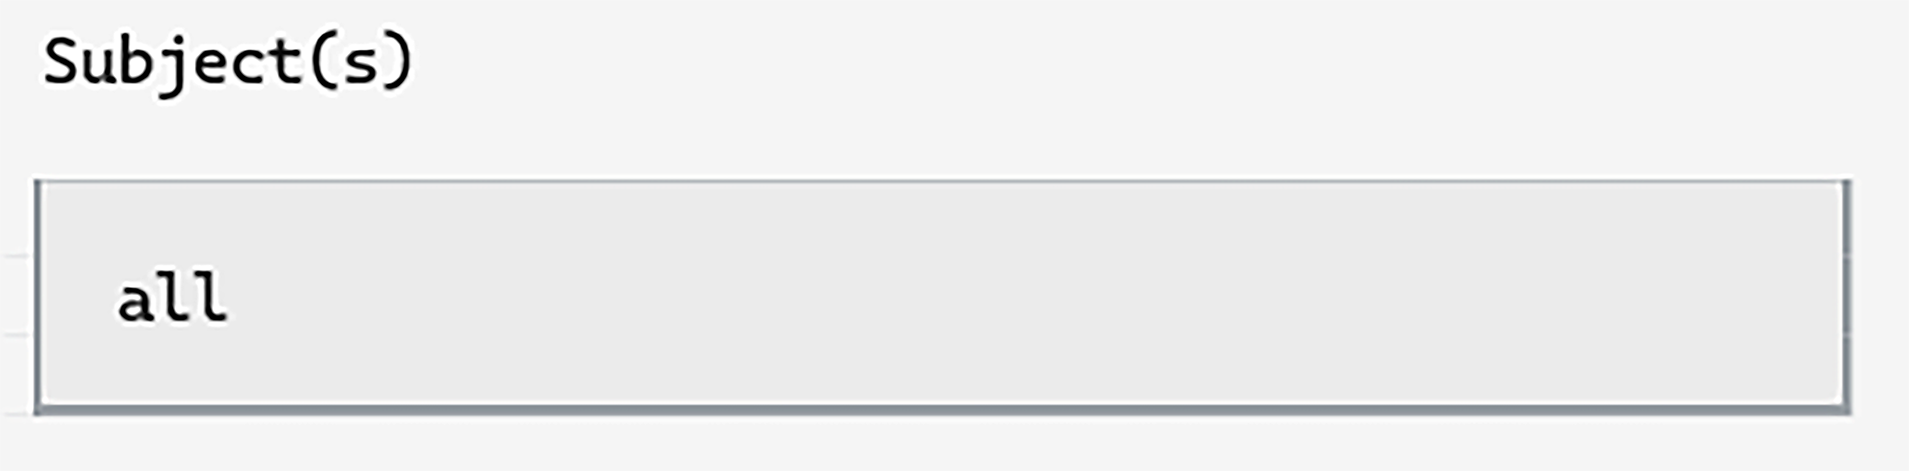
In the subject input, we can simply type all (in this case, we only have one subject anyway).
Next, let’s specify what session to download. We can use the
wildcard tag
to avoid typing the exact date—ses-001_@*@:

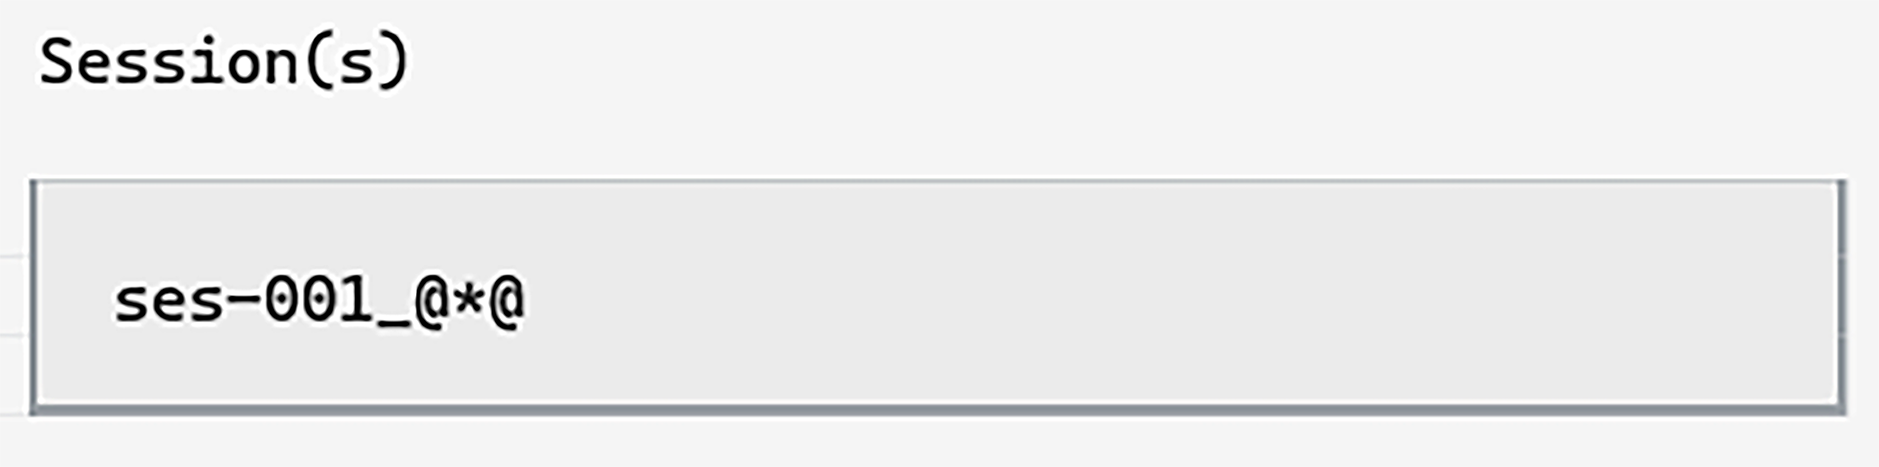
This is useful if you want to download many sessions, all with different dates.
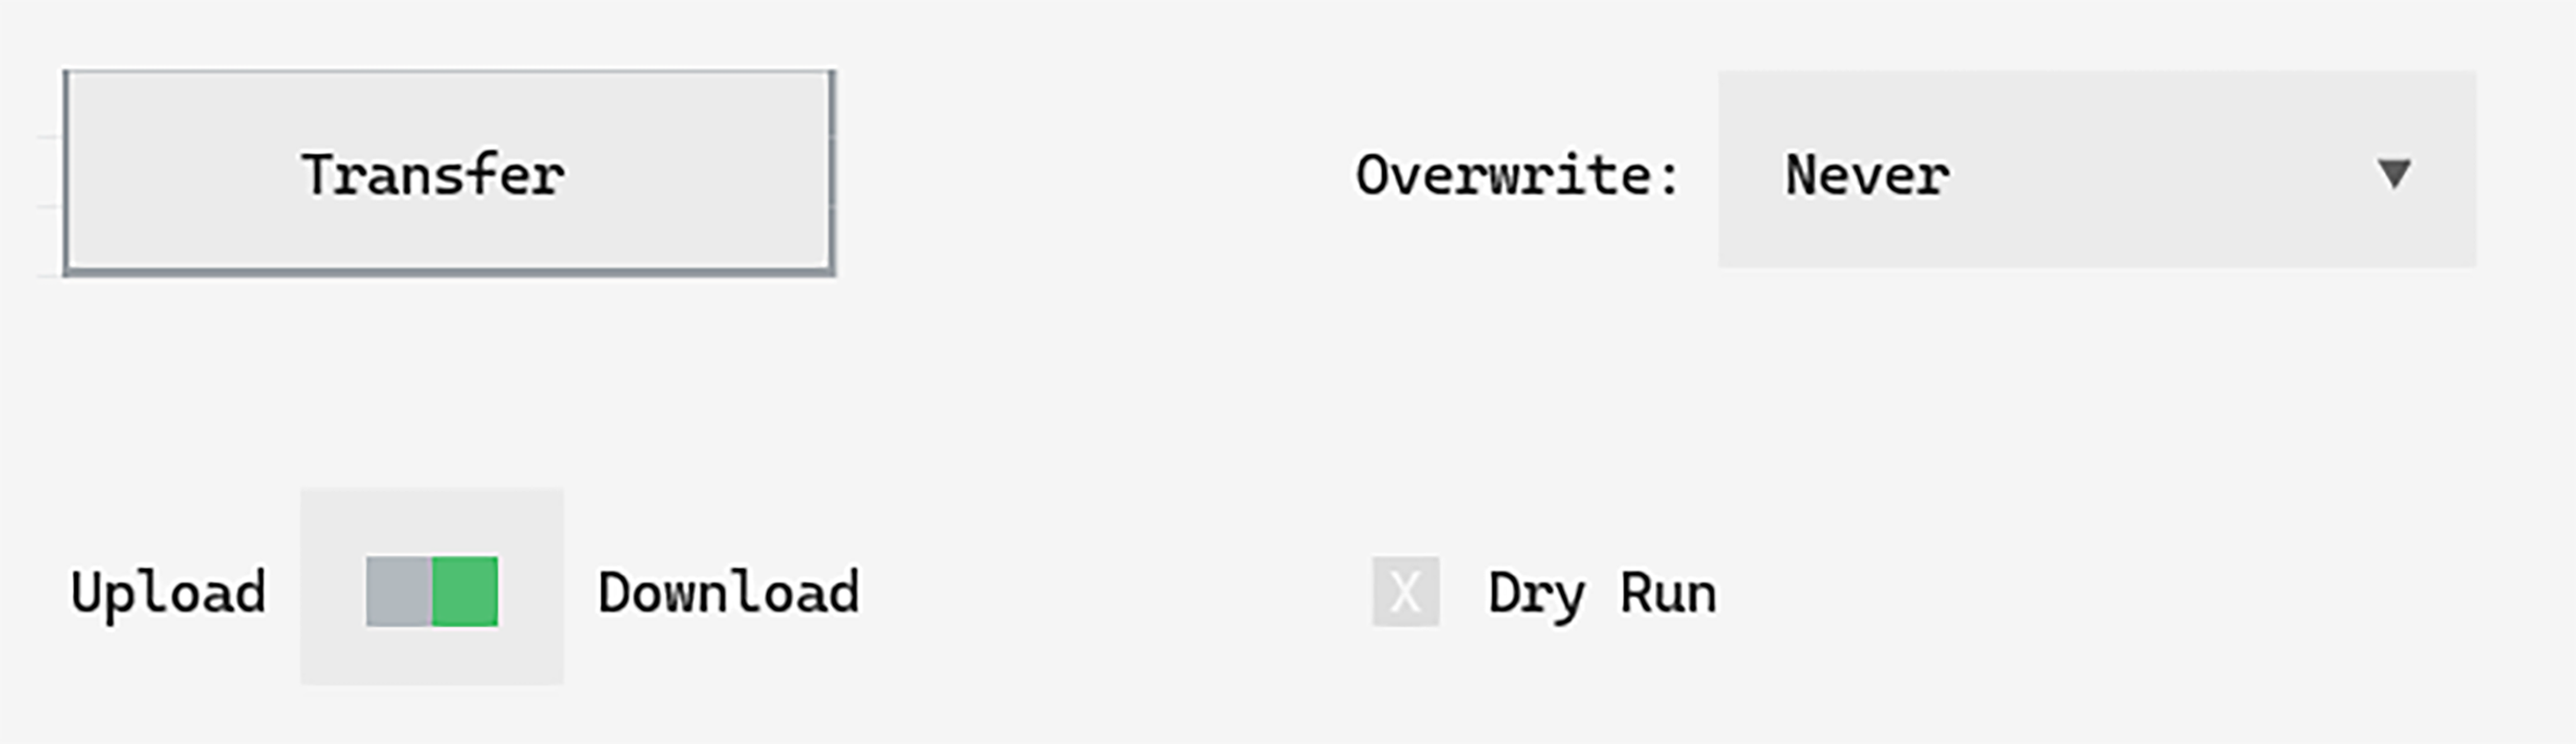
Then, select only the behav datatype from the datatype checkboxes.

Finally, we can select Download from the upload / download switch,
and click Transfer.

The transfer will complete, and the custom selection of files will now be available in the local path.
We will use the download_custom() method (the download equivalent method of
the upload_custom()).
Convenience tags can be used to make downloading subsets of data easier:
project.download_custom(
    top_level_folder="rawdata",
    sub_names="all",
    ses_names="ses-001_@*@",
    datatype="behav"
)
The "all" keyword will upload every subject in the project (in this case,
we only have one subject anyway).
The @*@ wildcard tag can be used to match
any part of a subject or session name—in this case we use it to avoid
typing out the date. This is also useful if you want to download many
sessions, all with different dates.
Finally, we chose to download only the behav data for the session.
Note
Detailed information on data transfers can be found in the Logs.
Visit How to Read the Logs for more information.
The transfer will complete, and the custom selection of files will now be available in the local path.
Summary#
That final transfer marks the end of our datashuttle tutorial!
Now you can:
set up a new project
upload your acquired data to a central storage machine
download subsets of data for analysis
We are always keen to improve datashuttle, so please don’t hesitate to get in contact with any Issues or drop in to our Zulip Chat with any questions or feedback.
Have a great day!